Gluten Free Chocolate Chip Muffins
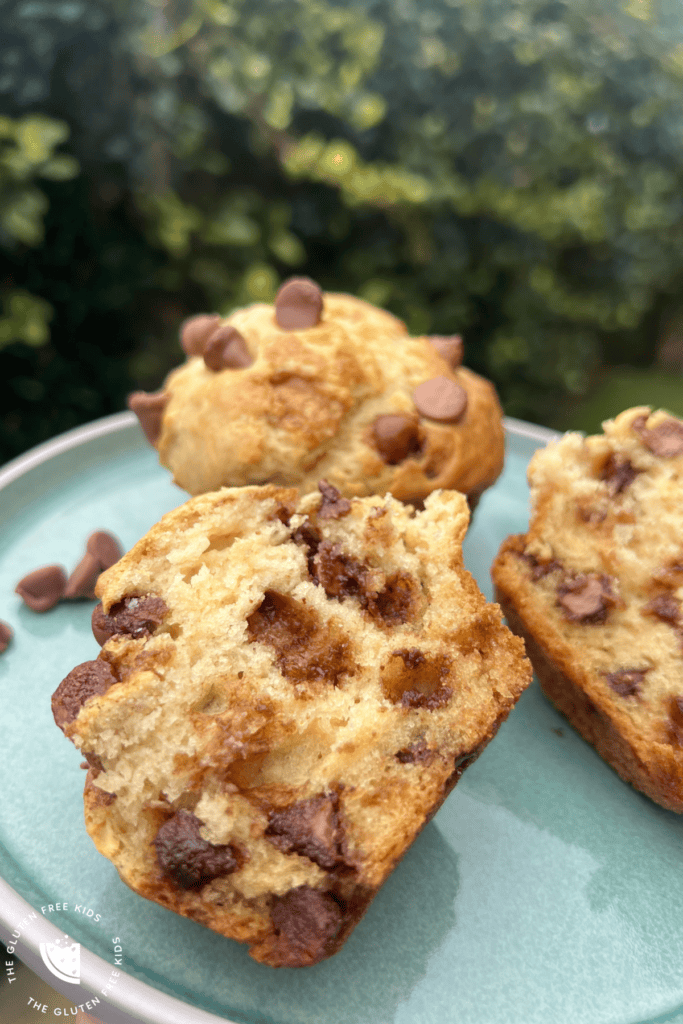
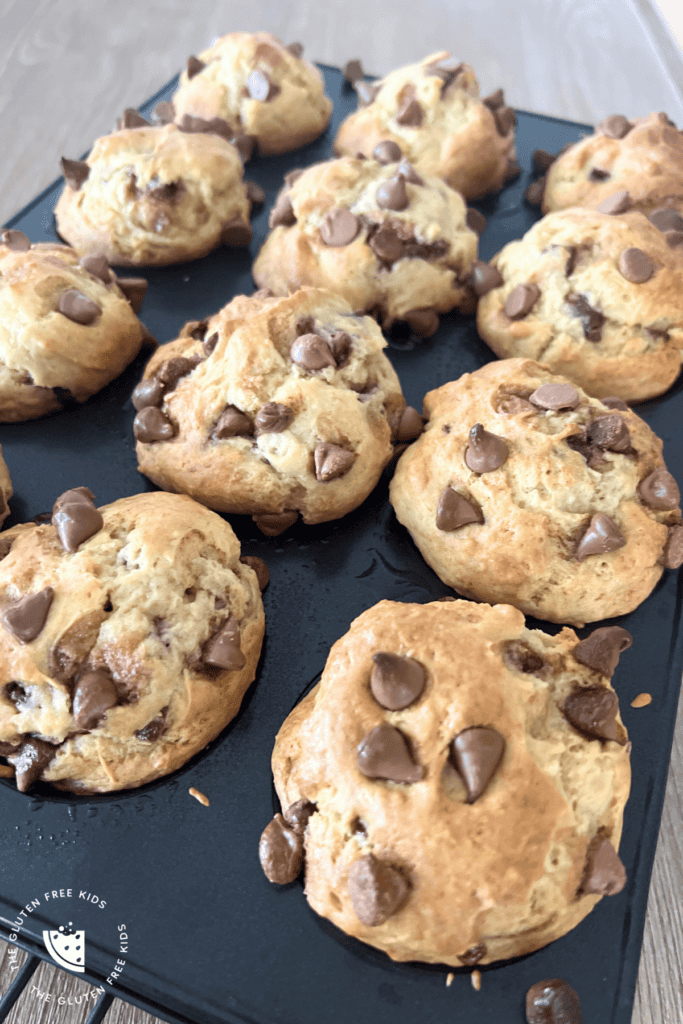
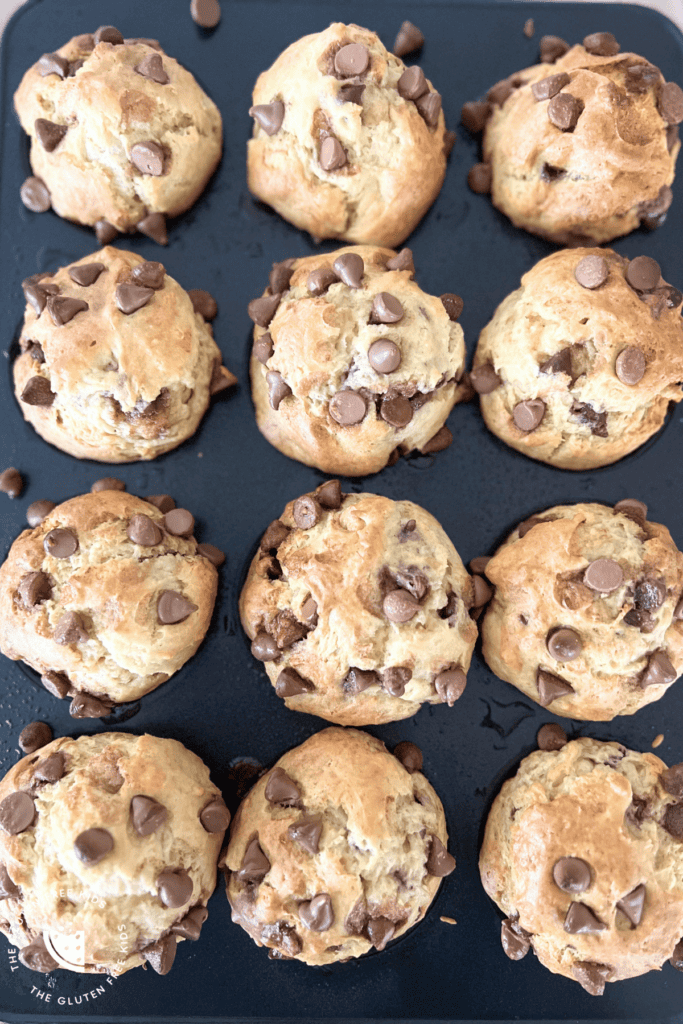
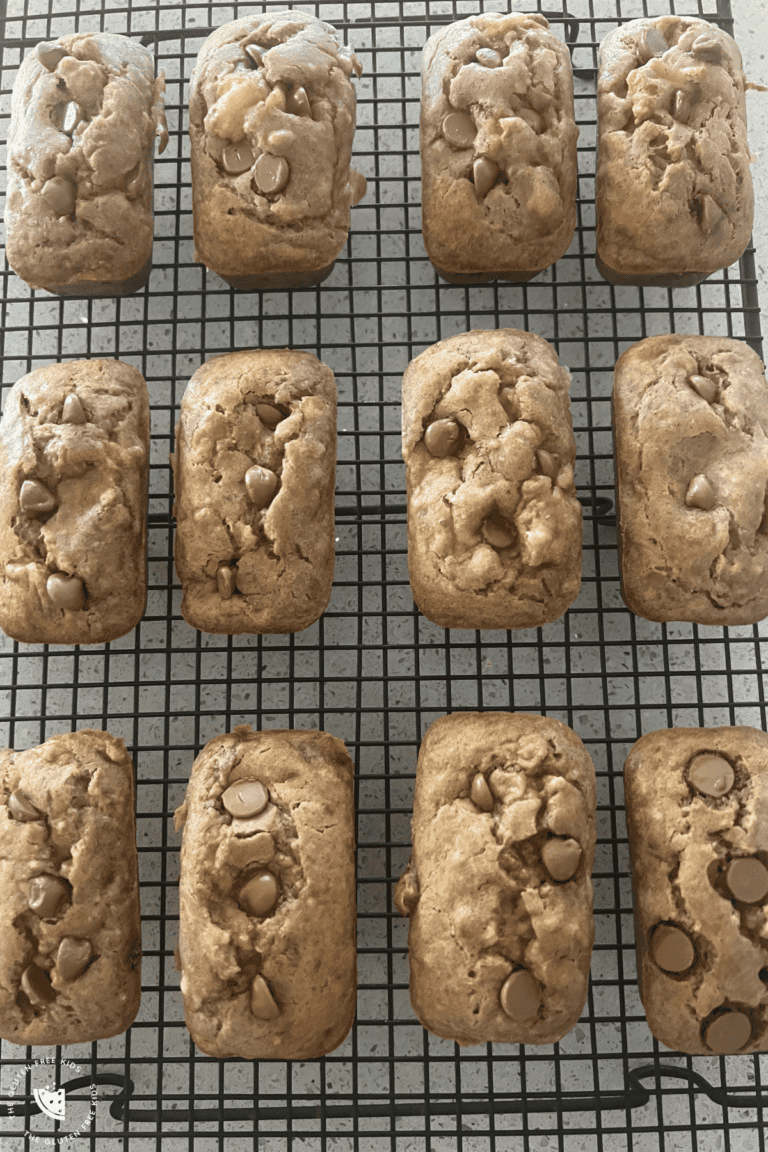
This gluten-free chocolate chip muffin recipe creates 12 large, bakery style muffins, using simple gf ingredients, which can all be mixed by hand.
Choc chip gluten-free muffins are great for snacks, lunchboxes, playdates and go well with a nice cup of tea too. They keep fresh for up to 3 days, and can be frozen if needed too.
Ingredients Required For GF Chocolate Chip Muffins
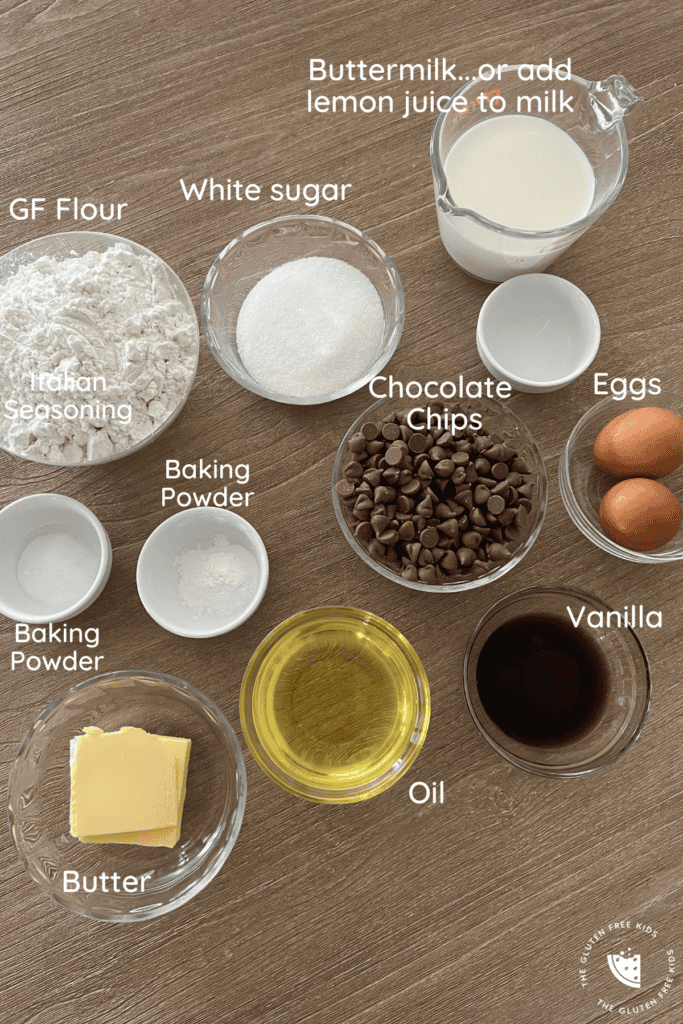
Here’s what you need to make these easy, yet delicious GF Chocolate Muffins:
- Gluten-free plain/all purpose flour,
- Castor/granulated sugar,
- Baking powder,
- Baking soda (bi-carb soda),
- Eggs,
- Buttermilk (can use milk + lemon juice or white vinegar if you don’t have buttermilk),
- Butter,
- Oil – I mostly use vegetable oil, but you could use other neutral flavoured oils,
- Vanilla extract,
- Chocolate chips
Secrets To Great Gluten-Free Muffins
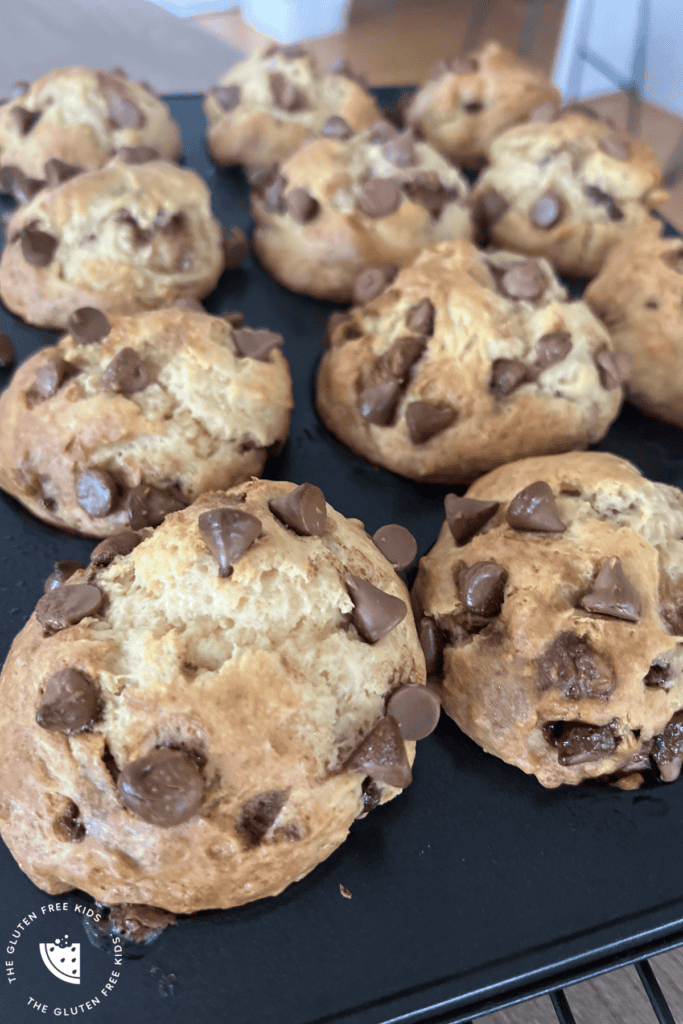
There are a few tips and tricks that can be used to create high, indulgent looking muffins, even when they’re gluten-free!
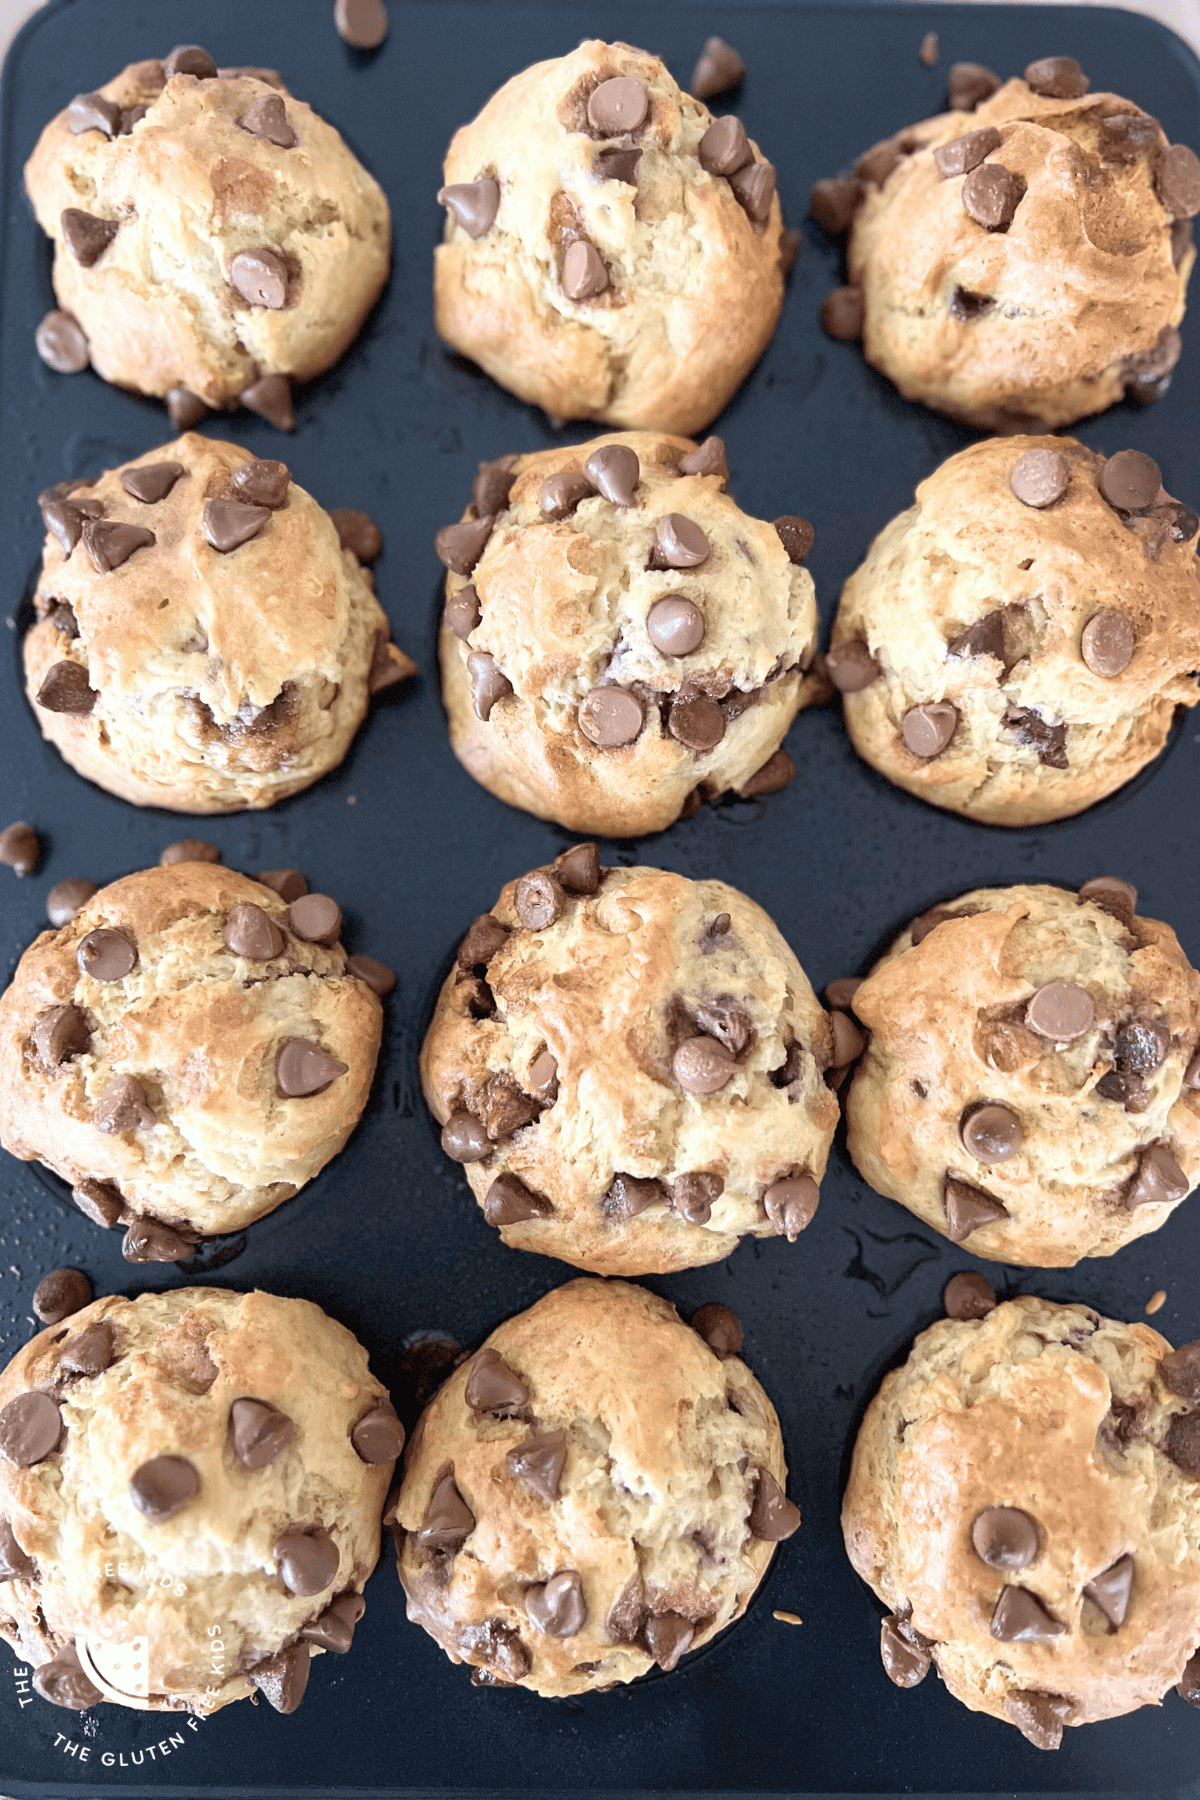
- When mixing the muffin batter, make sure to hold back a handful of chocolate chips. Once you’ve divided your muffin batter into 12 equal muffins, you can then top each one with the remaining choc chips. Whilst the chocolate chips don’t sink to the bottom in this recipe (as it’s quite thick), it just looks delicious when there are extra chips on the muffin top.
- Preheat your oven to 200C / 390F. When you first put your muffin tray into the hot oven, it will help create a fast rise, that then helps the muffins to ‘dome’. This creates the delicious crunchy muffin top. But, be sure to set your timer for 5 minutes only, as we then reduce the oven heat down to 180 C / 360 F to allow the inside of the muffins to bake, without drying out.
Gluten Free Chocolate Chip Muffins
This recipe creates 12 large, bakery style muffins, using simple gluten-free ingredients. Plus, you don't even need to get out your electric mixer.
Print
Pin
Rate
Servings: 12 Large Muffins
Ingredients
- 2¼ cups gluten-free plain/all purpose flour
- ½ cup white sugar (110g)
- 2 tsp baking powder
- 1 tsp baking soda (bi-carb soda)
- 2 eggs
- 1 cup buttermilk (or add 1tsp lemon juice to 1 cup of milk)
- ¼ cup butter (melted) (65g)
- 4 tbsp vegetable oil olive oil, coconut oil also work well here
- 1 tbsp vanilla extract
- 1½ cups chocolate chips
Instructions
- Preheat your oven to 200℃/400℉.
- Line a 12 muffin tin with either muffin papers, or spray tin with oil.
- Whisk the dry ingredients together first.2¼ cups gluten-free plain/all purpose flour, 2 tsp baking powder, 1 tsp baking soda (bi-carb soda), ½ cup white sugar
- Make a well in your bowl and add the wet ingredients, mixing until combined, but not expecting a super smooth consistency.2 eggs, 1 cup buttermilk, ¼ cup butter (melted), 4 tbsp vegetable oil, 1 tbsp vanilla extract
- Add in most of the chocolate chips (holding some back for topping) and mix through.1½ cups chocolate chips
- Divide your muffin batter into 12 equal muffins and then top with the remaining choc chips.
- Bake in the hot oven for 5 minutes, then reduce the heat to 180C/360F and continue to bake for 14 minutes. The muffins are ready when a skewer inserted into the muffin comes out clean, but don't get it confused with melted choc-chips!
- Take the muffins out of the tin immediately, and place onto a cooling rack.
Recipe Notes:
1. Buttermilk: the acidity in the buttermilk interacts with the baking soda, and helps these muffins to really ‘lift’. It’s an important step to avoid dry, flat muffins, however I know that buttermilk isn’t normally a household staple. The good news, is that you can easily create your own buttermilk by combining 1 cup of whole milk with 1 teaspoon of lemon juice or white vinegar.
2. All muffins are best warm and on the same day, but these muffins will keep for up to 3 days in an airtight container.
3. Freezing: If you have leftovers, or want to keep some gluten-free muffins on hand for emergencies, you can simply wrap the muffins individually so they’re airtight, freeze, then defrost to room temperature. A quick 20 seconds in the microwave usually just ‘perks’ them up a bit too before consuming 🙂


I’m not even good at baking and these turned out amazing, very fluffy and delicious. Would highly recommend.