Gluten Free Breadsticks (Both Crunchy & Soft)
Gluten Free Greek Yogurt Breadsticks
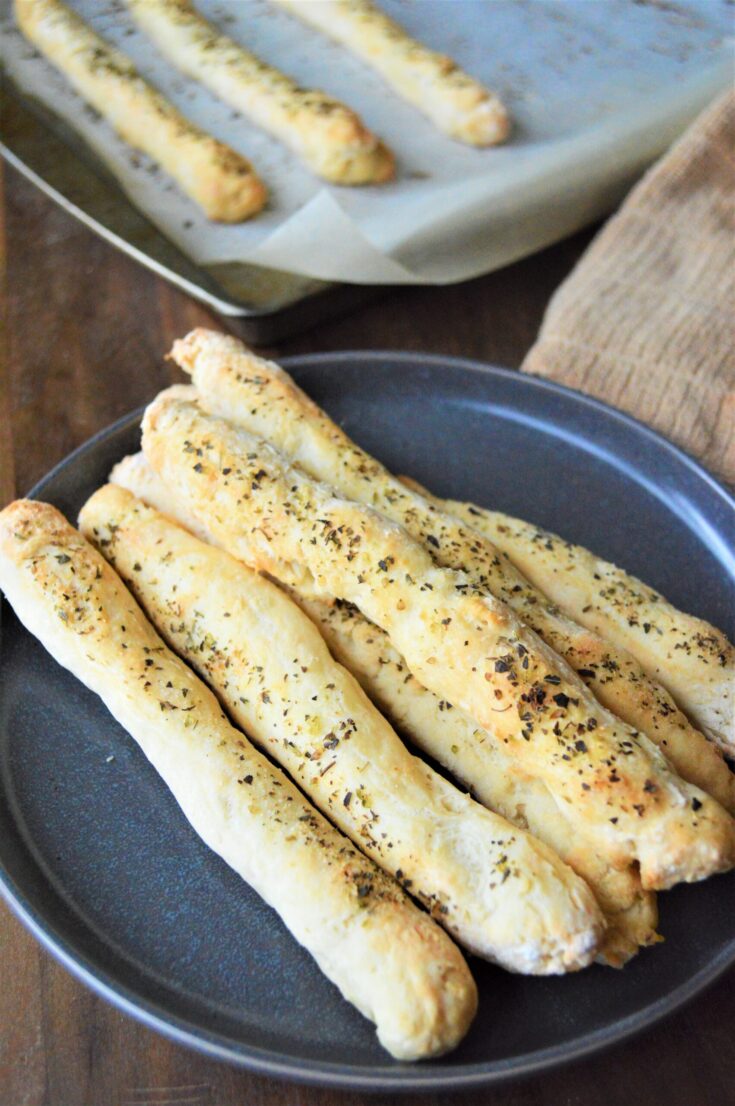
Craving soft, fluffy breadsticks without the gluten? These Gluten-Free Greek Yogurt Breadsticks are your answer! Quick to prepare and requiring no yeast or rising time, they’re perfect for busy weeknights or spontaneous cravings. Pair them with your favorite pasta, soup, or enjoy them as a standalone snack.
The only problem is not to fill those tummies too much before dinner!
You can pair these with your favorite gluten free pasta dish, or even serve alongside a salad. This recipe is incredible and it really reminds me of a light and fluffy breadstick you would get at your favorite restaurant.
What Type of Oil Is Best to Use?
Personally, this is a personal preference here. You might find you and your family enjoy olive oil over other varieties (it’s the favorite in our home).
That is totally fine to use or you can also reach for a classic canola or vegetable oil. They all will get the job done at helping your toppings to stick to breadsticks and for giving your breadsticks a golden, crunchy top.
How to Know if Baking Powder Is Still Good
Since this recipe uses baking powder, I wanted to share a simple trick I learned a few years back. Before I started cooking from scratch more due to our Celiac diagnosis, I never seemed to use baking powder in time before it expired.
A simple way to test it is to boil up some water on the stove. Put about a teaspoon of baking powder in a heat-proof bowl. Then pour around 1/4 cup of baking powder over the top of the powder.
If it begins to bubble your baking powder is still good and you can use it. Otherwise, if it doesn’t bubble you need to toss and buy new as it will negatively affect your recipe.
Gluten Free Greek Yoghurt Breadsticks
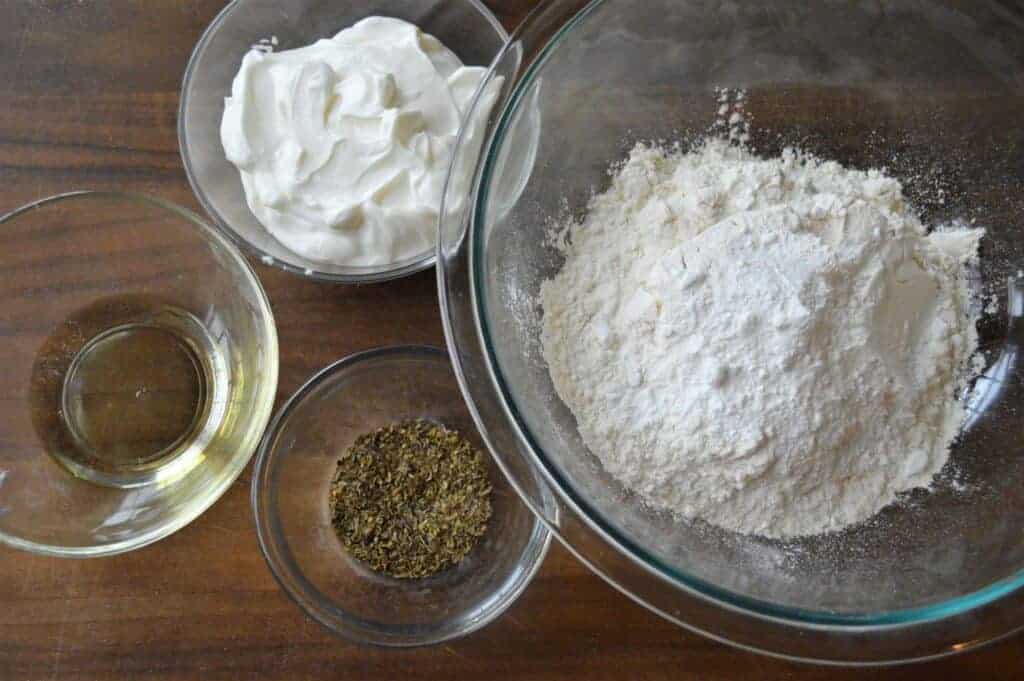
Ingredients
- 1 cup greek yogurt- Plain (I use 0%)
- 2 cups gluten free flour + plus a little more for rolling
- 2 tsp baking powder
- 3-4 Tbsp water
- Dash of salt
- 2 Tbsp oil
- 1-2 Tbsp Italian seasoning
Instructions
- Preheat the oven to 425 degrees F (or 220C).
- Combine flour, baking powder and salt in a large bowl.
- Stir in greek yogurt. Mix well. (If dough is too dry, add 3-4 Tbsp of
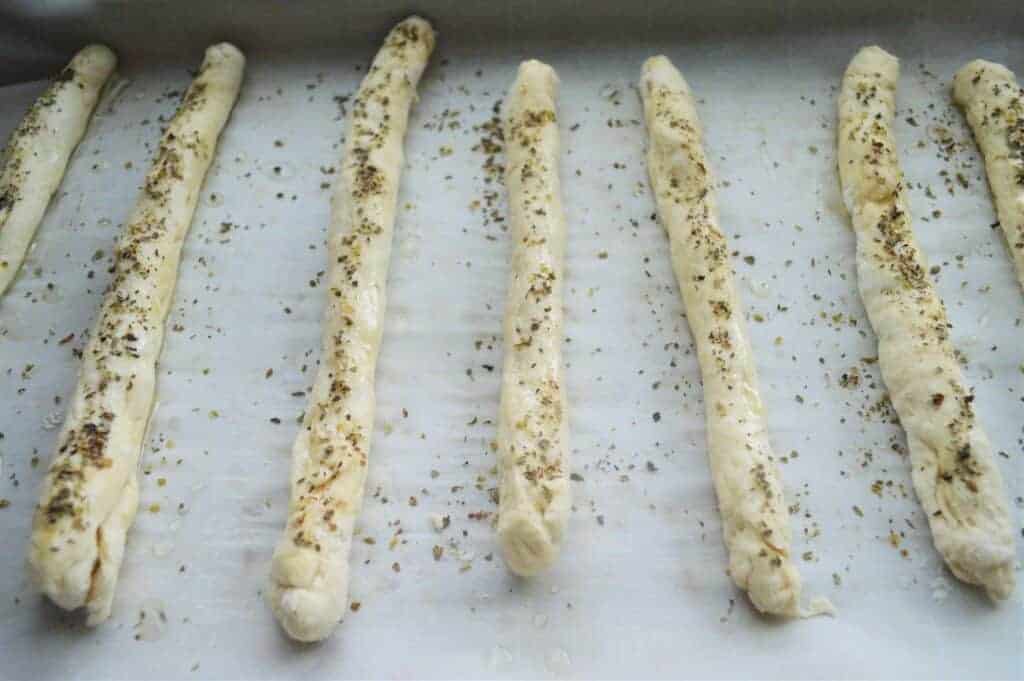
water). - Roll dough out into long sticks. Place on a prepared baking sheet. (I used parchment paper).
- Brush each stick with oil. Top with Italian seasoning.
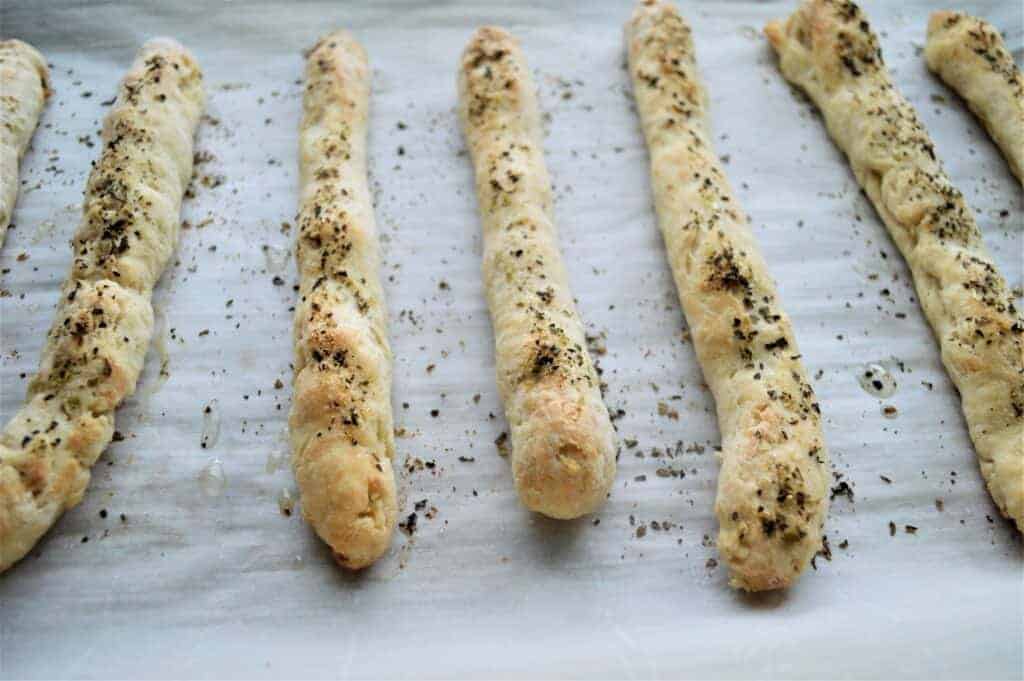
- Bake for approximately 15 minutes, or until golden brown.
Notes
Can I Add Cheese On Top Of These Breadsticks?
Yes, go right ahead and sprinkle on some parmesan or even mozzarella or a blend to heat up with the breadsticks. You can sprinkle some cheese on top and then once the cheese is golden brown and melted, check to ensure breadsticks are done then serve as you would like.
Ingredients You Need To Make These Gluten Free Breadsticks
- 1 cup plain Greek yogurt (0% fat works well)
- 2 cups gluten-free all-purpose flour (plus extra for rolling)
- 2 teaspoons baking powder
- Pinch of salt
- 3–4 tablespoons water (as needed)
- 2 tablespoons olive oil (or preferred cooking oil)
- 1–2 tablespoons Italian seasoning
How to Make Gluten Free Breadsticks – Step By Step Photos
Preheat your oven to 220°C (425°F). Line a baking sheet with parchment paper.
Mix Dry Ingredients: In a large bowl, combine the gluten-free flour, baking powder, and salt.

Add Yogurt: Stir in the Greek yogurt until a dough forms. If the dough is too dry (as above), gradually add water until it reaches a pliable consistency (as below).
Roll dough out into long sticks and place on a baking sheet. Brush each stick with oil and top with Italian seasoning (and/or add a little cheese if that’s the type of breadsticks you’re going for):
Bake them for approximately 15 minutes (check on them at the 10 minute mark) or until golden brown:
How to Know When The Breadsticks Are Done
To know when your breadsticks are done you will do a few things. First look at the coloring. You will see that a golden color begins to form over the top. Then it no longer looks moist.
Take a breadstick out and either stick a toothpick in it and if it comes out clean your breadsticks are done. Or pick apart one of the breadsticks to look at the inside to ensure it is fully cooked all the way through. I tend to break a ‘test’ one in half and check the consistency.
🧀 Optional Additions
- Cheese Topping: Before baking, sprinkle grated Parmesan or mozzarella cheese over the breadsticks for a cheesy twist.
- Garlic Butter: Brush baked breadsticks with melted garlic butter for added flavor.
❄️ Storage Tips
- Room Temperature: Store in an airtight container for up to 2 days.
- Freezing: Once cooled, freeze breadsticks in a single layer. Reheat in the oven at 180°C (350°F) for 5–10 minutes when ready to serve.
❓ Frequently Asked Questions
Can I use regular yogurt instead of Greek yogurt?
Greek yogurt is thicker and provides better structure to the dough. If using regular yogurt, reduce the added water to prevent the dough from becoming too sticky.
Is it possible to make these dairy-free?
Yes! Substitute the Greek yogurt with a dairy-free yogurt alternative. Ensure it’s unsweetened and plain to maintain the savory flavor.
Can I prepare the dough in advance?
Absolutely. Prepare the dough, wrap it tightly in plastic wrap, and refrigerate for up to 24 hours. When ready to bake, let it sit at room temperature for about 15 minutes before shaping and baking.
Interested in using yogurt in your gluten-free bread making more often? Give these excellent recipes a go next:

Did you make this recipe?
Mention us @theglutenfreekids or tag us using #theglutenfreekids so we can see your creations! You can also leave a comment below!

Hello! This recipe looks great. Thanks for sharing! Do you ever freeze these? And, if so, how would you go about reheating them? Thanks!
Can I use olive oil instead of water in the dough?
Really easy and tasty. Thanks!