Gluten-Free Air Fryer Bagels
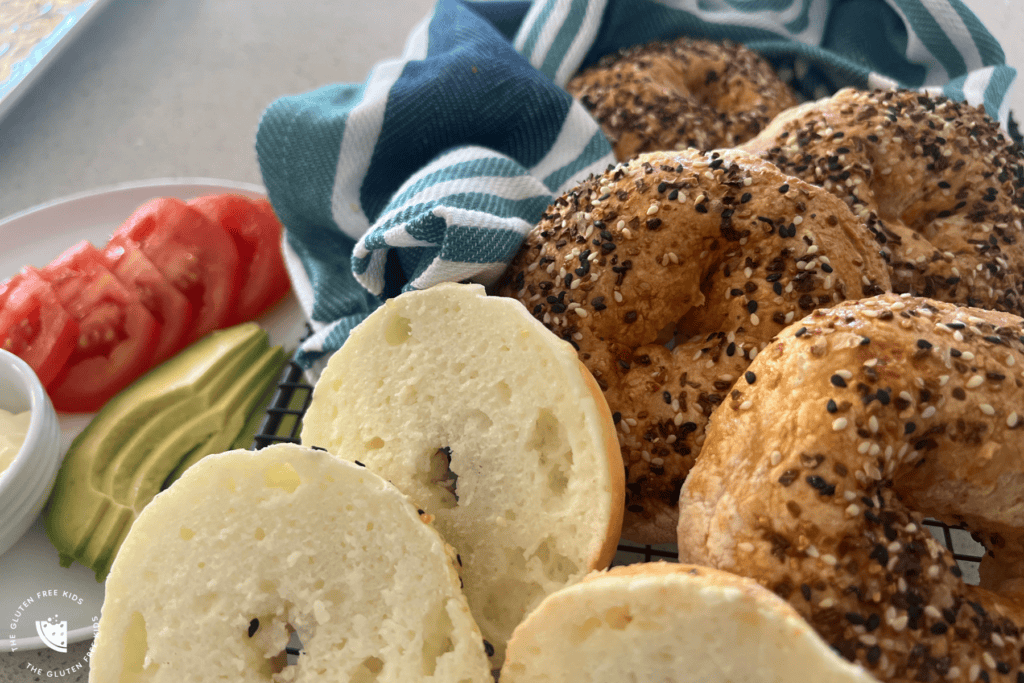
With a crispy crust, and a light and fluffy inside, these gluten-free bagels are a delight! Best of all, they require minimal ingredients, have many uses, and can be made in under 20 minutes – all in an air fryer.
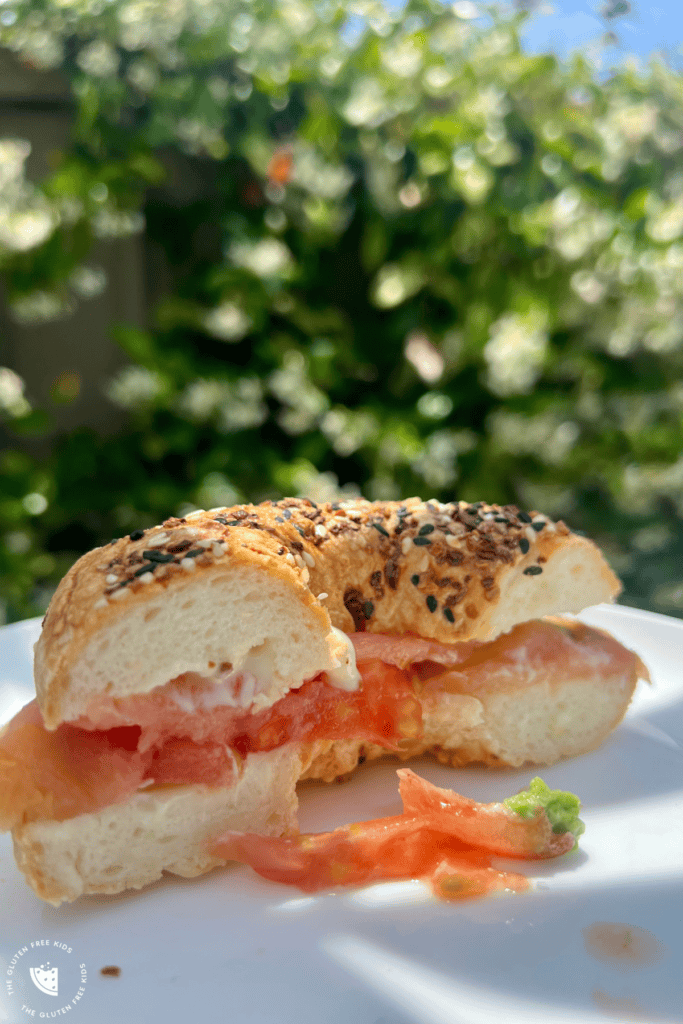
Easy Air Fryer Gluten-Free Bagels
After having to go gluten-free I generally avoided bagels altogether. They aren’t offered at many places when eating out, and the store bought ones have always been a little underwhelming. Especially considering the price of them once the ‘gluten-free tax’ has been added.
When making them from scratch, they tend to require obscure ingredients (which I don’t do, as a rule), lots of time and multiple cooking processes – umm boiling and baking? No thanks.
But, after many, many trial and errors, I’ve found that the gluten-free 2 ingredient dough can also be applied to create gluten-free bagels that are:
- tasty,
- versatile,
- quick to make, and
- made from simple gf ingredients.
The hardest part is waiting on them to cool slightly to be able to slice them and start eating!
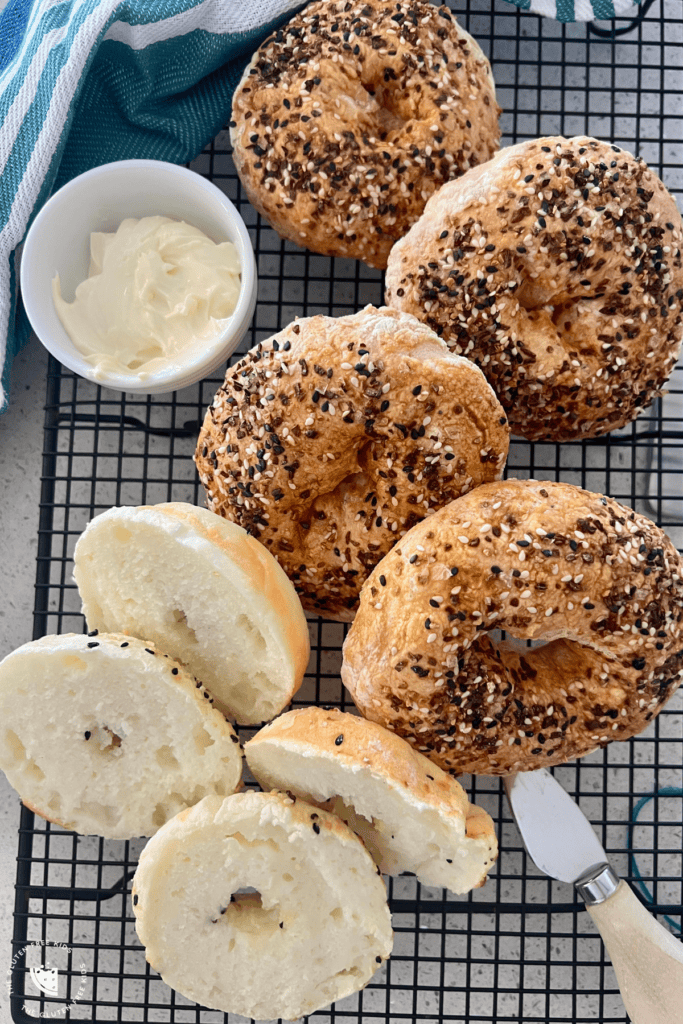
Ingredients you’ll need to make these GF Bagels
This recipe makes 4 decent sized gf bagels. You can always halve or double the recipe as required.
Here’s what you’ll need:
- Gluten free self-raising/self-rising flour,
- Greek yoghurt
- Egg for an egg-wash (milk, or water will also work if there are additional allergies)
- Topping of choice – I often use Everything Bagel seasoning.
If you don’t have gluten-free self-raising/self-rising flour on hand, you can substitute with gluten-free all-purpose/plain flour PLUS baking powder (the conversion is to add 2 teaspoons of baking powder per 1 cup of gf flour).
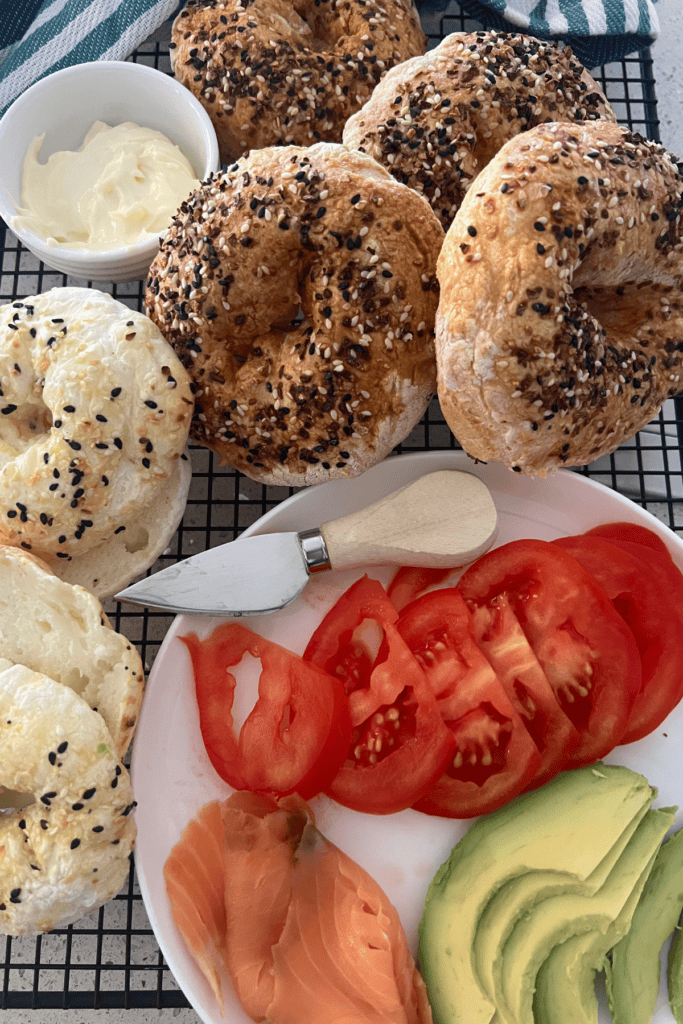
Step by Step Instructions
Making these gluten-free bagels could not be simpler. I’ve included step-by-step photos below to make this recipe easy to follow along with, but if you just want the full, printable recipe ingredient qualities and instructions, simply scroll to the recipe card at the bottom of this post.
Jump to RecipeStep 1: In a large bowl, mix together the yoghurt and 1 cup of the gluten-free flour. Gradually add in more of the flour until the dough comes together enough to form a ball.

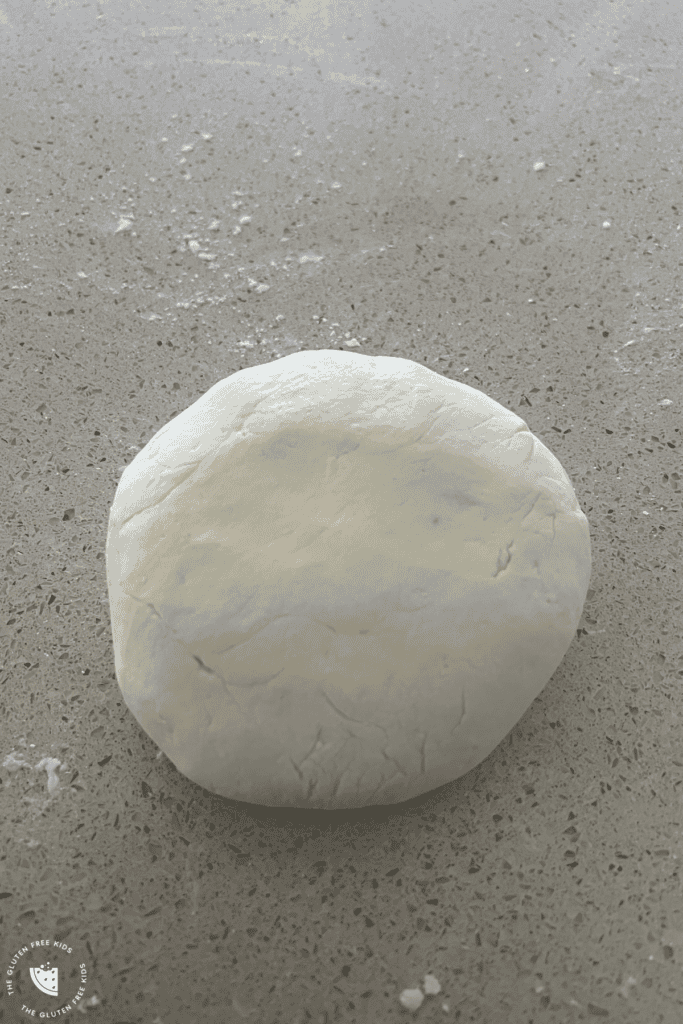
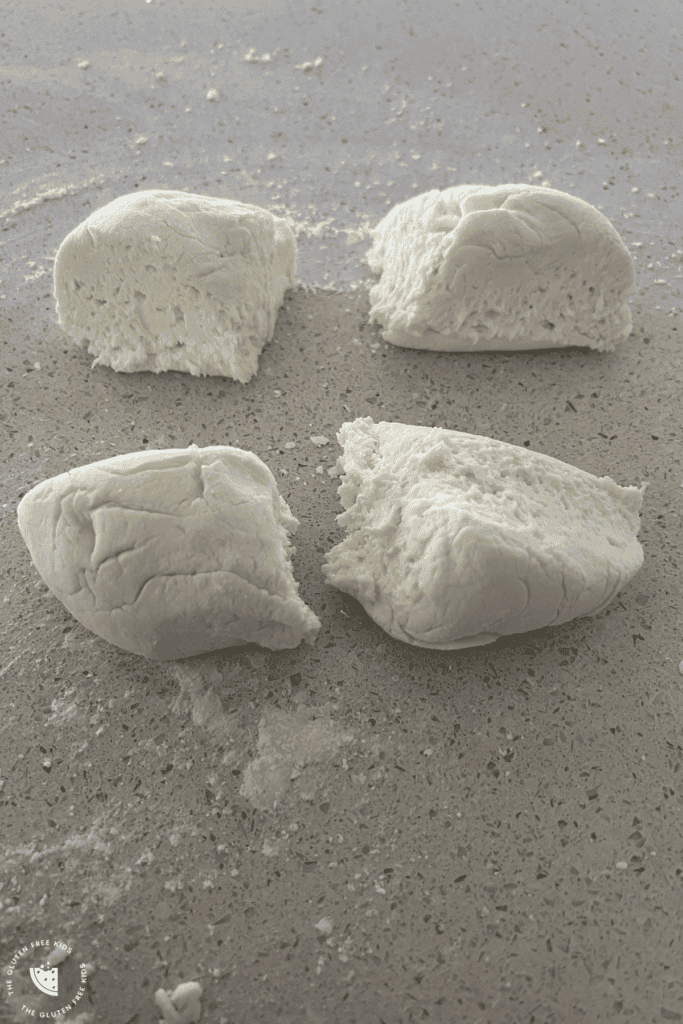
Step 2: Place the dough ball onto a clean, floured work surface and knead together for a few minutes until smooth (as per below image), and no longer sticky. Cut into four equal portions.
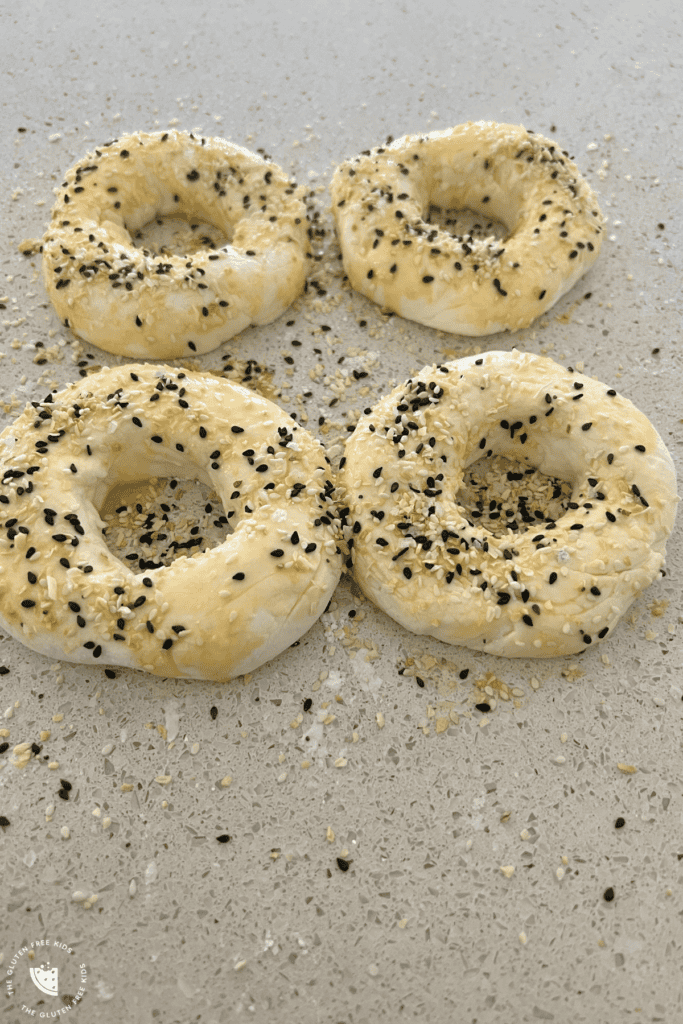
Step 3: Roll the individual dough sections into balls, and create a large hole in each, about 2 inches. During cooking the hole will creep in, so make sure you’ve ‘over-exaggerated’ the bagel hole. Brush with egg wash and add your desired toppings.
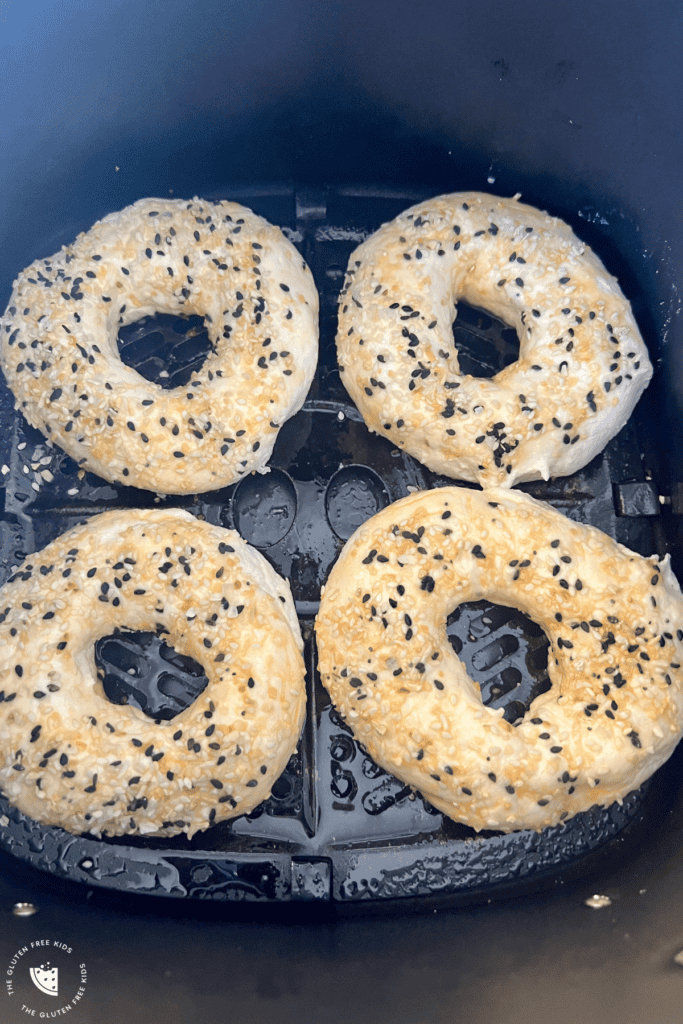
Step 4: Spray your air fryer with cooking oil of choice and place your bagels in to cook at 160C/320F for 14 minutes – or until golden brown. Whilst air fryer liners are great to avoid the mess, I’ve found that the bagels get the best crisp when I place them directly in my air fryer.
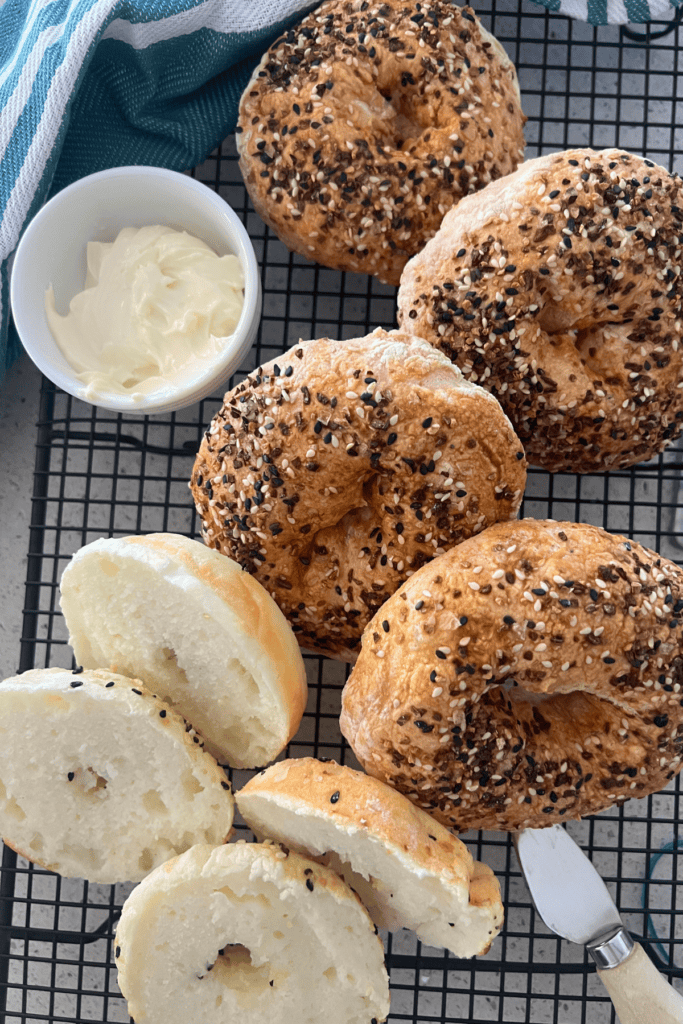
Allow the bagels to cool slightly before attempting to slice them. Don’t worry, they will still be warm. Serve with the toppings of choice!
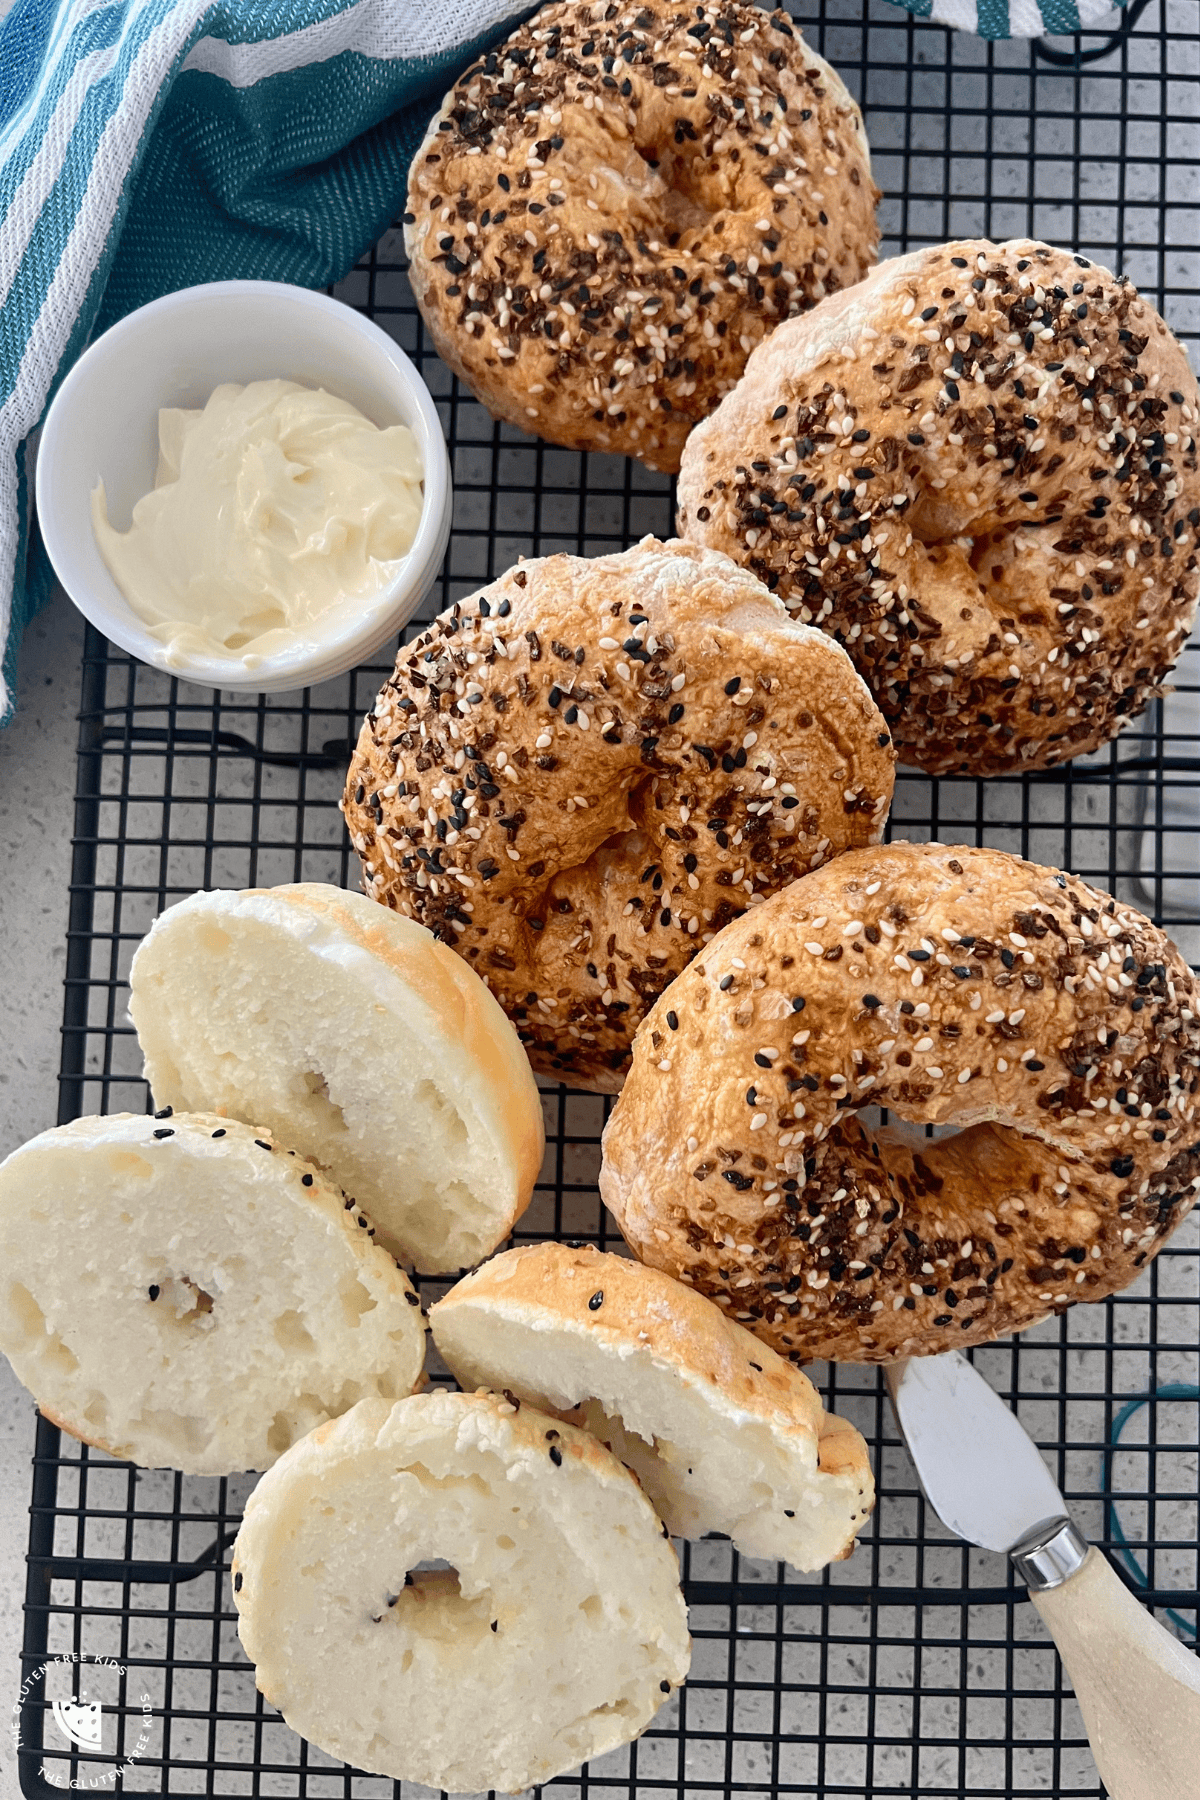
Gluten-Free Air Fryer Bagels
Equipment
- Air Fryer
Ingredients
- 1½ cup Gluten-Free Self-Rising/Self Raising Flour
- 1 cup Greek Yoghurt
- 1 Egg
- Bagel topping of choice
Instructions
- In a large bowl, mix together the yoghurt and 1 cup of the gluten-free flour. Gradually add in more of the flour until the dough comes together enough to form a ball.
- Place the dough ball onto a clean, floured work surface and knead together for a few minutes until smooth, and no longer sticky. Cut into four equal portions.
- Roll the individual dough sections into balls, and create a large hole in each, about 2 inches. During cooking the hole will creep in, so make sure you’ve ‘over-exaggerated’ the bagel hole. Brush with egg wash and add your desired toppings.
- Spray your air fryer with cooking oil of choice and place your bagels in to cook at 160C/320F for 14 minutes – or until golden brown. Whilst air fryer liners are great to avoid the mess, I’ve found that the bagels get the best crisp when I place them directly in my air fryer.
- Allow the bagels to cool slightly before attempting to slice them. Don’t worry, they will still be warm. Serve with the toppings of choice.
Did you make this recipe?
Mention us @theglutenfreekids or tag us using #theglutenfreekids so we can see your creations! You can also leave a comment below!


These worked out perfectly! I made 3 bigger bagels, instead of 4 as I have hungry teenagers 🙂
Worked well. My yogurt was very thick so I only needed 1 and a quarter cups of gf flour for it to bind together. Used milk brush instead and bagel seasoning. Loved them.
Thanks