Gluten-Free Cheese & Bacon Mini Quiches
These mini cheese & bacon quiches make perfect gluten-free appetizers, breakfast on the go, and they are also great cold in the lunchboxes or filling up hungry tummies at all times of the day.
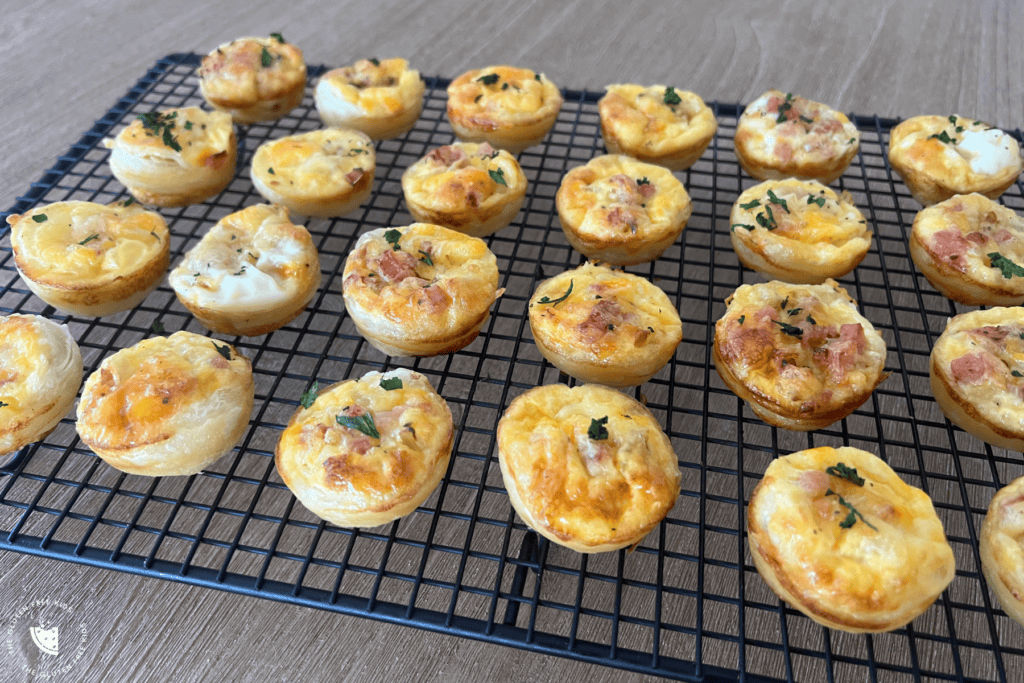
Mini Quiches
My kids love a mini quiche. As long as I don’t try and squeeze too many fancy ingredients in them!
So this a simple, yet tasty recipe, designed for the less adventurous taste-testers amongst us.
Cheese and bacon for the win.
I do use a store-bought gluten-free puff pastry in this recipe, but you can of course make your own puff pastry too. If you don’t have the time, inclination or access to store-bought gluten free puff pastry, you could also try this recipe instead for a crustless mini quiche option.
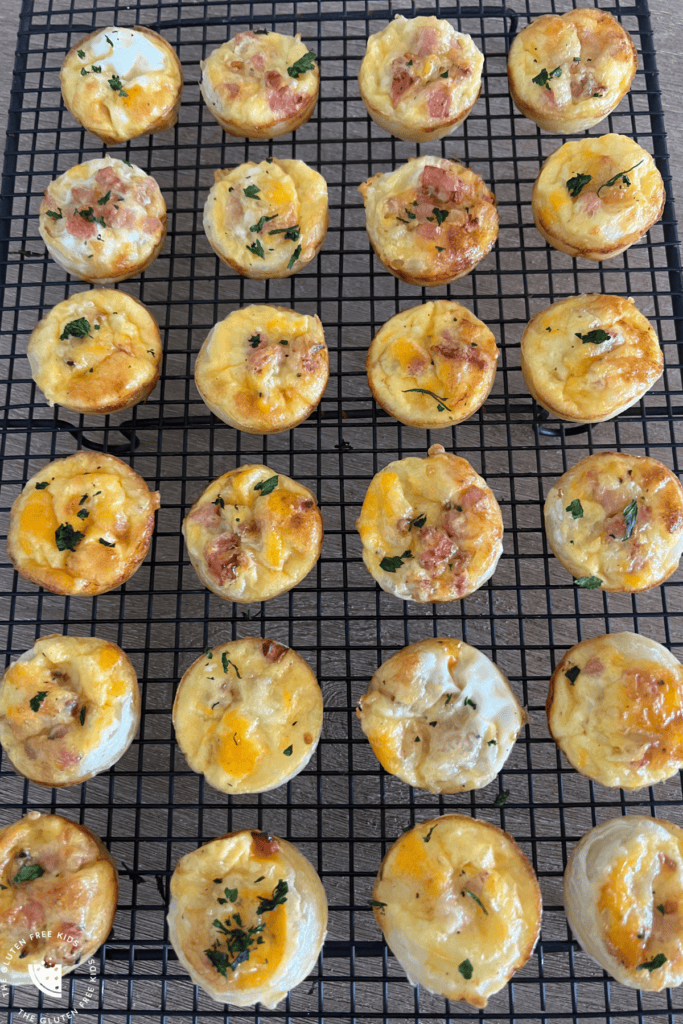
Why Make These GF Mini Quiches?
- A crowd fave,
- Delicious,
- Bite-sized,
- They look fancy,
- Customizable ingredient options,
- You can make them ahead, and they are easy to freeze & reheat.
What You Need To Make These GF Mini Quiches
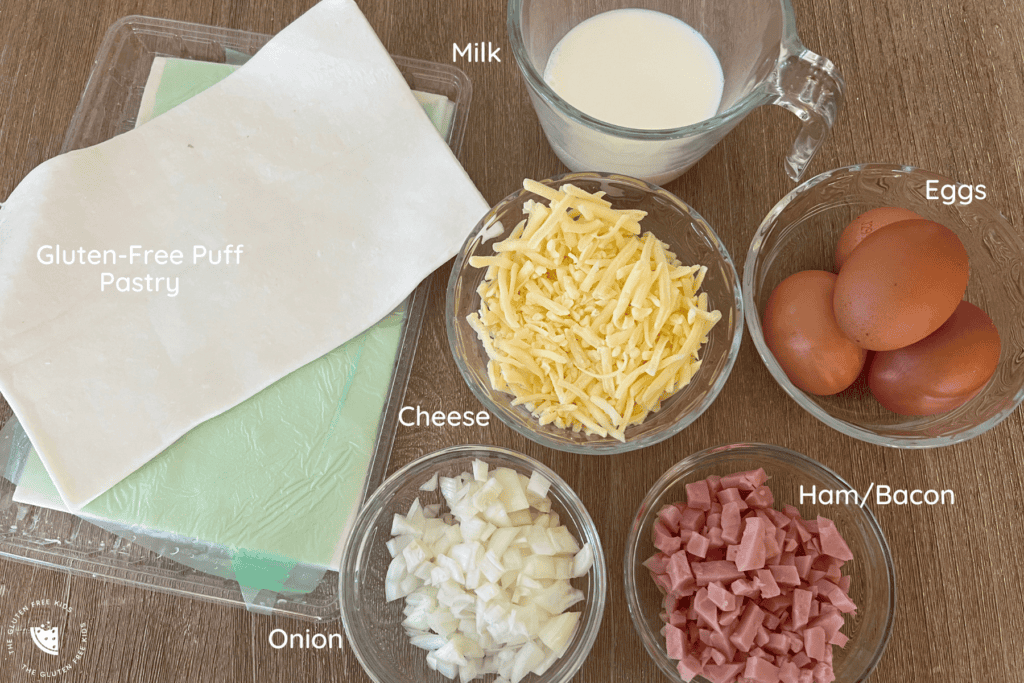
Here is what you’ll need:
- Gluten-free puff pastry
- Cheese
- Onion
- Ham/Bacon
- Milk
- Eggs
FAQ
- How long will these mini quiches last in the fridge? up to 3 days.
- Can you freeze them? Yes, make sure they are completely cooled down, before freezing in a freezer-proof container. They can be kept in the freezer for up to 3 months.
- How do I reheat them without them getting soggy? Reheat in the oven (180C/350F) for about 10 minutes if from frozen, or 6 minutes if defrosted.
- Are these best served hot or cold? This is a personal preference, but for parties, these are best served warm, but they are also still delicious in lunchboxes cold too.
Find the measurements and full recipe below!
Step by Step Instructions To Make GF Mini Quiches
I’ve included step-by-step photos below to make this recipe easy to follow along with. If you just want the full, printable recipe ingredient qualities and instructions, simply scroll to the recipe card at the bottom of this post.
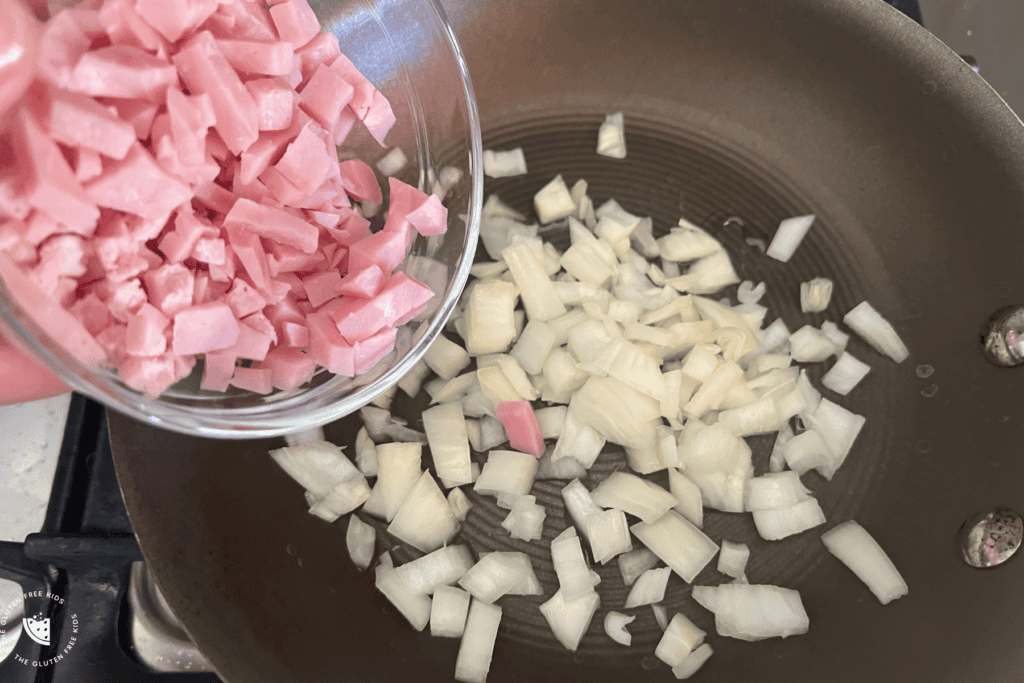
Step 1: Preheat your oven. Brown off the onion and bacon in a small amount of oil, then allow to cool.
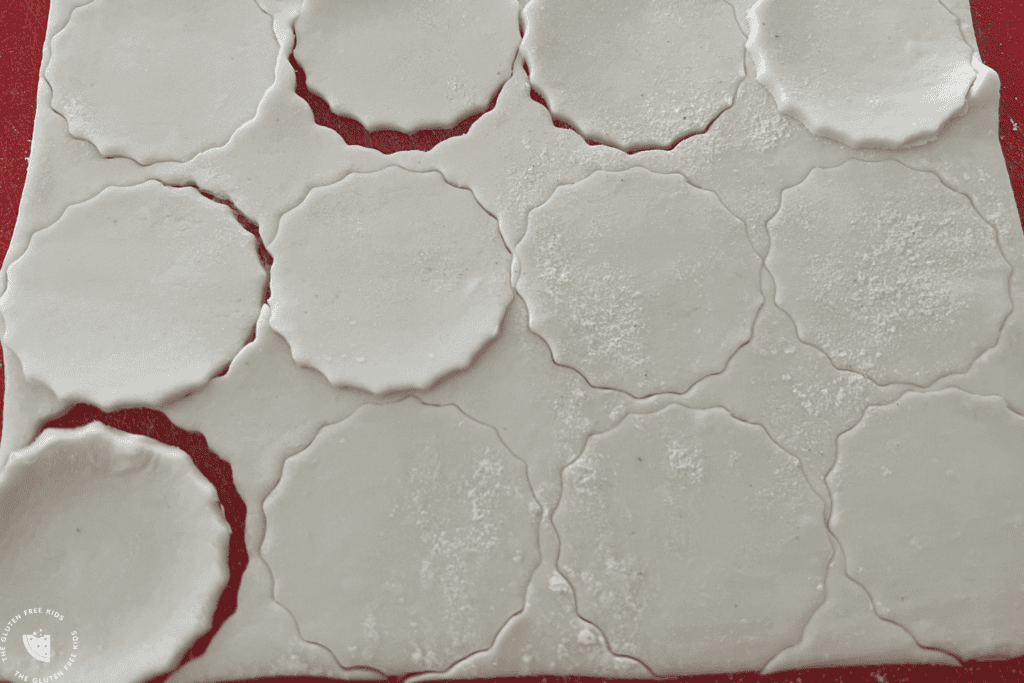
Step 2: Using a circle shaped cutter (that is slightly bigger than your mini muffin tray), cut out 24 circles of your gluten-free puff pastry. You may need a small dusting of gluten-free flour here.
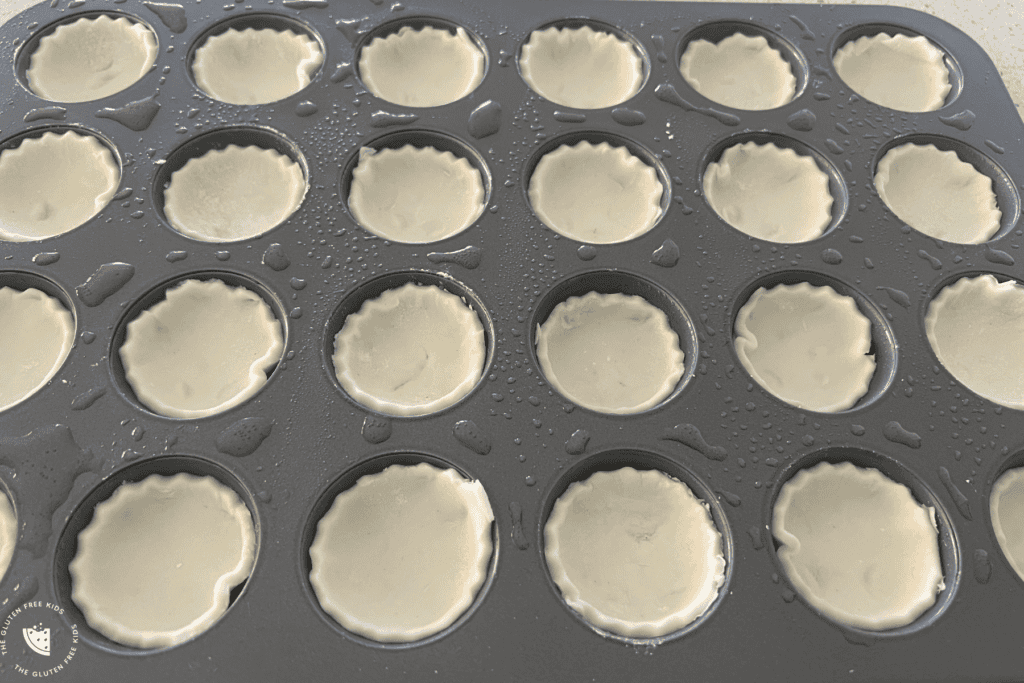
Step 3: Lightly grease a mini muffin tray, and gently press your pastry circles into each hole.
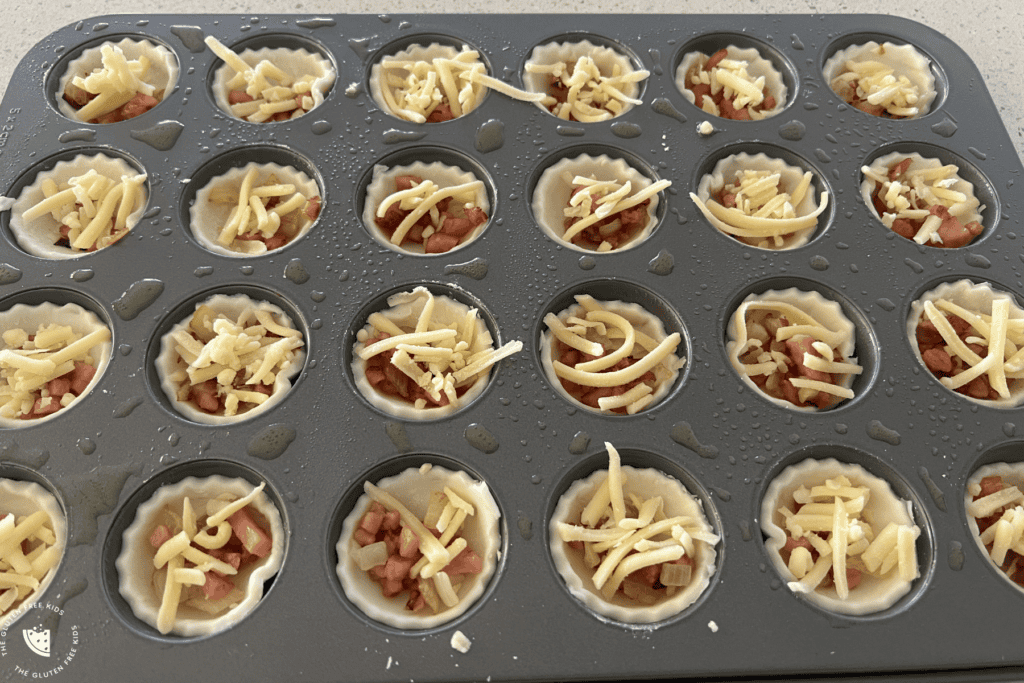
Step 4: Spoon in the onion and bacon mixture into each hole, as well as a sprinkle of cheese to each:
Step 5: Combine your milk and eggs (and salt and pepper if using) in a small jug and whisk together. Gently pour the egg mixture into each pastry case, making sure not to overfill as the egg will rise as it cooks.
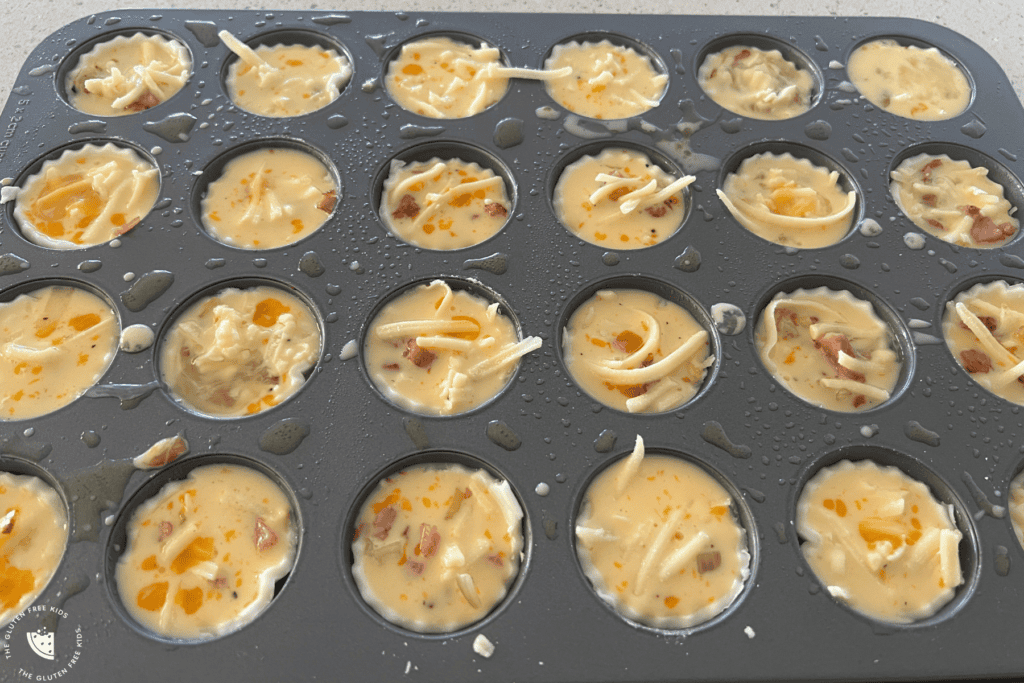
Step 6: Bake in the oven for 12-14 minutes, or until the quiches are golden brown and appear ‘set’ on top. Rest for a few minutes, before transferring them to a cooling tray.
Serve warm, or save for later.
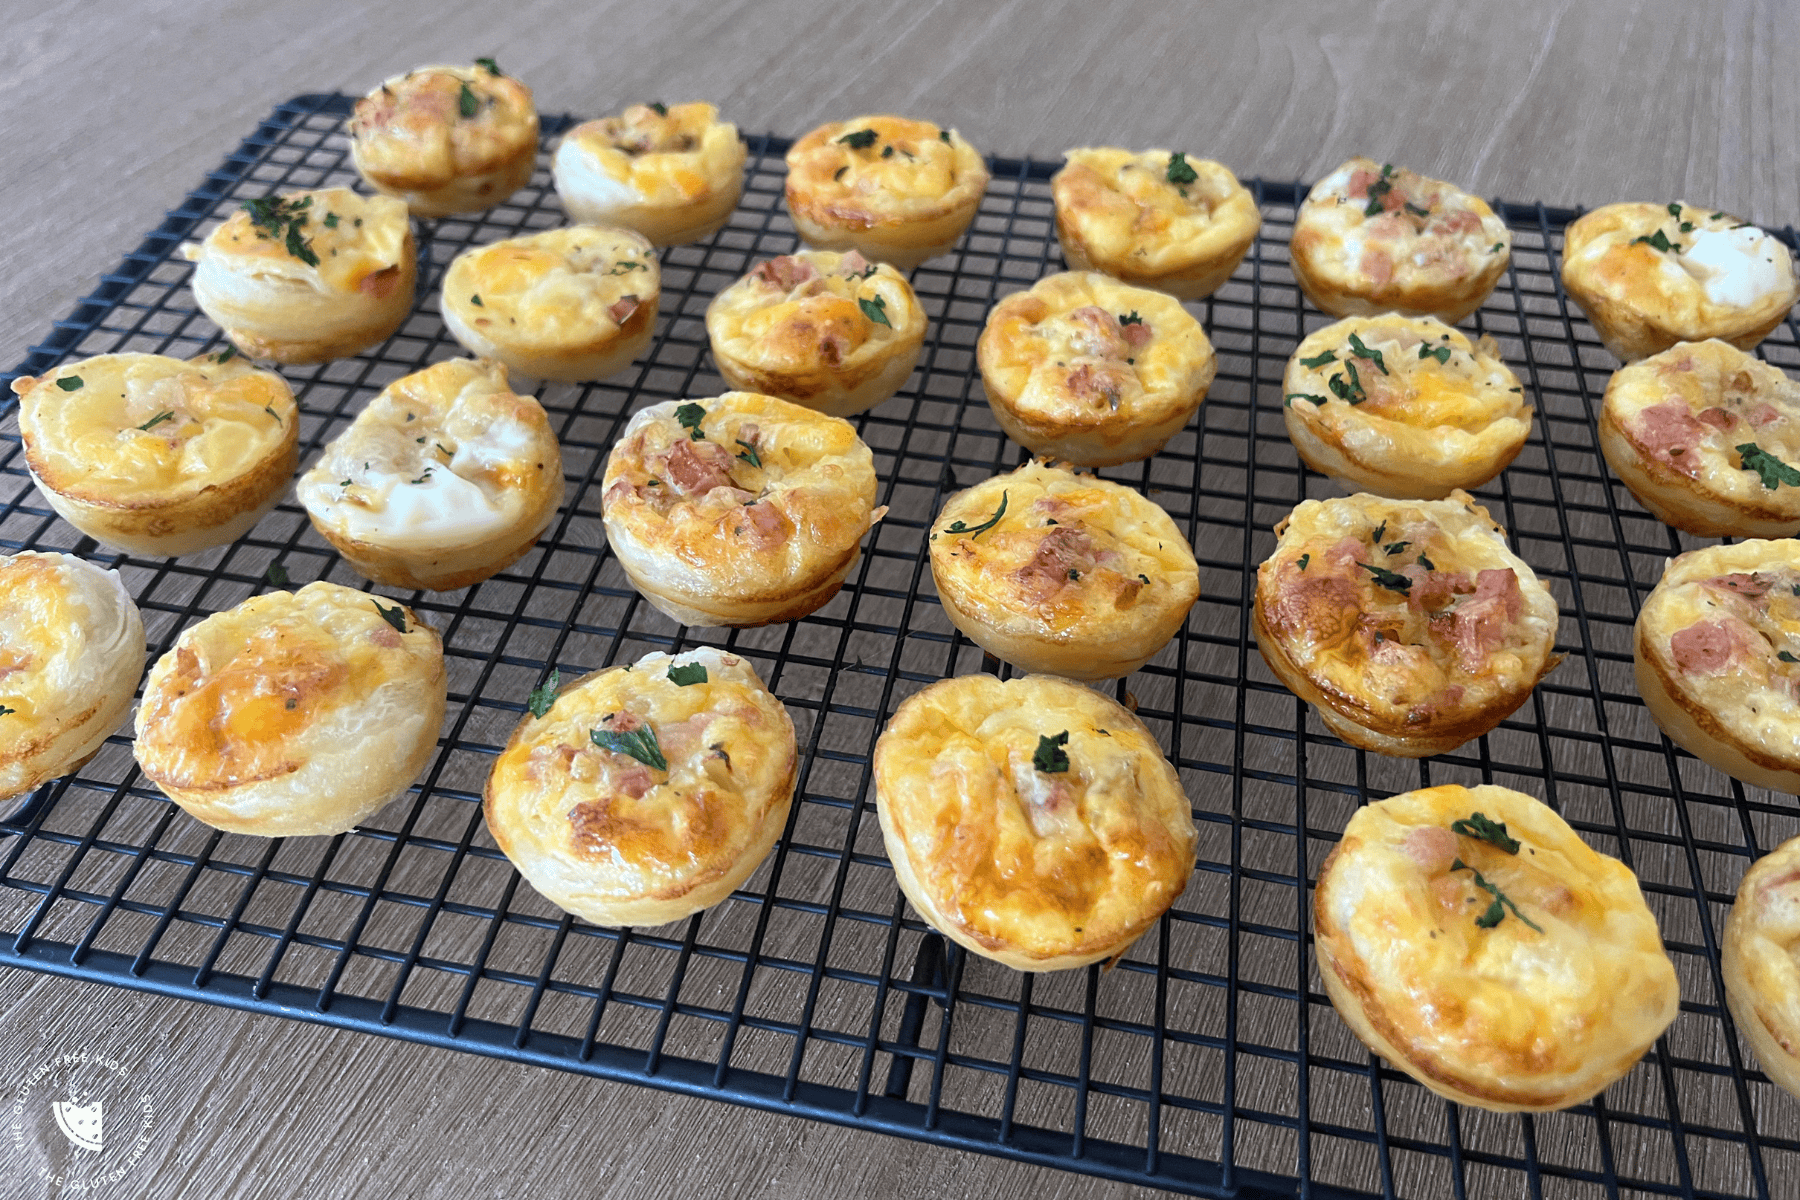
Gluten-Free Cheese & Bacon Mini Quiches
Equipment
- 1 Mini Muffin Tin (24 holes)
Ingredients
- 1 tsp Olive oil
- 3 rashers Bacon, diced
- ½ Onion, diced
- 3 sheets Gluten-free puff pasty, frozen
- ½ cup Cheese, shredded
- ⅓ cup Milk
- 3 Eggs
- Salt & Pepper, to season
Instructions
- Preheat oven to 180℃/350℉.
- Heat 1 tsp Olive oil in a pan, and brown off the ½ Onion, diced and 3 rashers Bacon, diced then allow to cool.
- Using a circle shaped cutter (that is slightly bigger than your mini muffin tray), cut out 24 circles of your 3 sheets Gluten-free puff pasty, frozen. You may need a small dusting of gluten-free flour here.
- Lightly grease a mini muffin tray, and gently press your pastry circles into each hole.
- Spoon in the onion and bacon mixture into each hole, as well as a sprinkle of the ½ cup Cheese, shreddedto each.
- Combine the ⅓ cup Milk and 3 Eggs (and salt and pepper if using) in a small jug and whisk together. Gently pour the egg mixture into each pastry case, making sure not to overfill as the egg will rise as it cooks.
- Bake in the oven for 12-14 minutes, or until the quiches are golden brown and appear 'set' on top. Rest for a few minutes, before transferring them to a cooling tray.
Did you make this recipe?
Mention us @theglutenfreekids or tag us using #theglutenfreekids so we can see your creations! You can also leave a comment below!
