How to Keep Gluten-Free Lunches Warm in a Thermos
A thermos might seem like a small thing, but it can transform your child’s gluten-free lunch experience. With just a few minutes of prep, you can send them off with a hot, hearty meal that’s safe, filling, and fun – whether it’s a regular school day, a big sports carnival, or a long family outing.
Sandwiches will always have their place, but with a thermos, gluten-free lunches suddenly open up a whole new world of options. Here’s everything you need to know.
By the way, when I say thermos, I’m talking about any insulated food container designed to keep meals hot (or cold). Depending on where you live, you might also hear them called a food flask, insulated food jar, or even a vacuum-insulated lunch container. Whatever the name, the idea is the same- it’s a portable, safe way to keep your child’s gluten-free food isolated from contamination, and at the right temperature until lunchtime.
Why a Thermos is a Gluten-Free Lunch Hack
For gluten-free families, a thermos solves a lot of problems at once:
- Safety first – No need to rely on school or workplace microwaves or canteens where gluten cross-contamination is almost guaranteed.
- Warm, comforting food – Kids don’t have to miss out when friends open up steaming pasta or noodles.
- Variety beyond sandwiches – Bored of sandwiches? No gf bread in the house?
- Use up dinner leftovers – no waste!
With just a few minutes of prep in the morning, you can make a safe, hot meal that your child will actually look forward to.
Choosing the Right Thermos
Not all thermoses are created equal. Look for:
- Size that suits appetite – my two eldest use a 470ml Oasis thermos, while my youngest has a much smaller one. No point filling something huge if they’ll never eat it all!
- Good insulation – a good quality stainless steel, vacuum-sealed thermos usually holds heat for 5–7 hours (some even longer).
- Easy to clean – wide-mouth openings are easier to scrub properly. That matters, because hidden food residue can trap gluten.
💡 Pro tip: Give each child their own thermos in their favourite colour or decorated with stickers so that there are no mix-ups at school or if your home isn’t 100% gluten-free.
Step-by-Step: How to Use a Thermos For Best Results
This is where the magic happens. Follow these steps and your thermos will actually do its job:
- Preheat safely. Boil the kettle, pour the hot water into the thermos, rest the lid loosely on top (never screw down tightly with steam inside), and leave for about 5 minutes. Keep it out of reach of little hands!
- Heat food extra hot. Make it just hotter than you’d normally serve. The hotter it goes in, the longer it will stay warm.
- Empty and dry the thermos. Wipe it out quickly before adding the heated food.
- Fill right to the top if possible – air space cools food quickly. If there’s a gap, top it with a splash of hot broth or sauce if relevant to the food you’re using.
- Seal and insulate – screw the lid on tightly. For long days out or winter mornings, wrap the thermos in a tea towel for extra insulation.
- Do a practice run. Try it at home first and test how long food stays hot, and make sure your child can open it safely without spilling or burning themselves.
Extra Thermos Hacks That Actually Work
These small tricks can make a big difference:
- Paper towel trick – for foods like nuggets or leftover pizza, pop a paper towel in the bottom to absorb steam and keep them from going soggy.
- Foil wrap hack – wrap certain foods (like mini burritos, grilled cheese strips, etc) in foil before putting them in the thermos. This keeps them warmer and a bit crispier.
- Portion-wise thinking – choose the thermos size based on how much your child usually eats. Too big and you’ll have wasted space (and cooler food).
- Utensils & clean-up – always pack a spoon or fork (and a napkin or paper towel). Otherwise, you might get a sheepish ‘Umm, I couldn’t eat my lunch today.’
Best Gluten-Free Foods to Pack in a Thermos
Hot lunches don’t need to be fancy. Dinner leftovers often make the best thermos meals! Some kid-approved ideas:
- Gluten-free mac & cheese
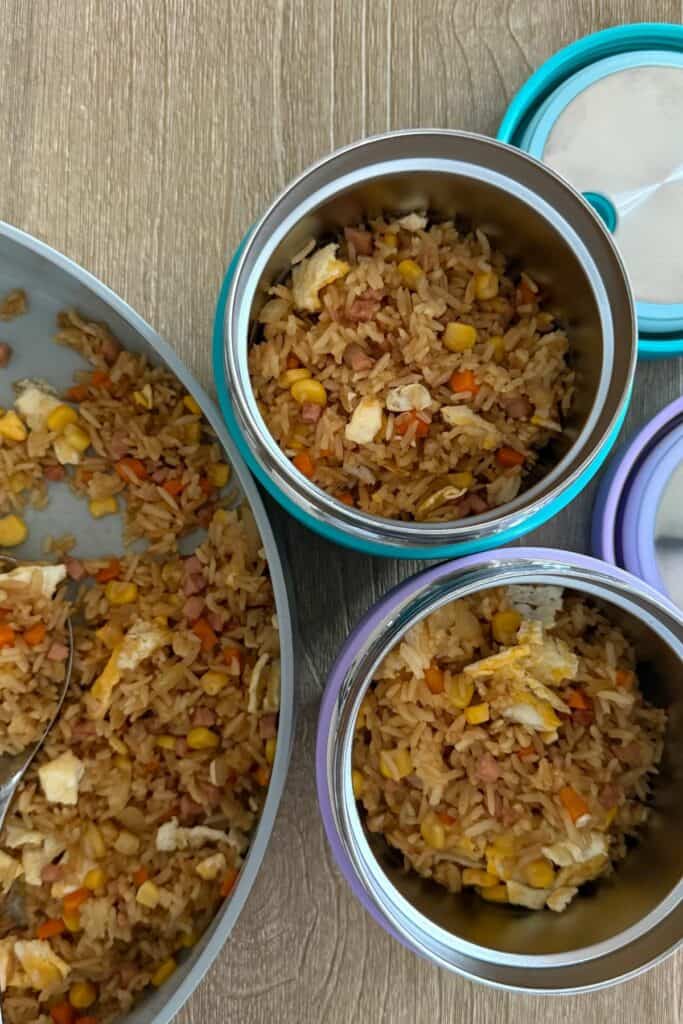
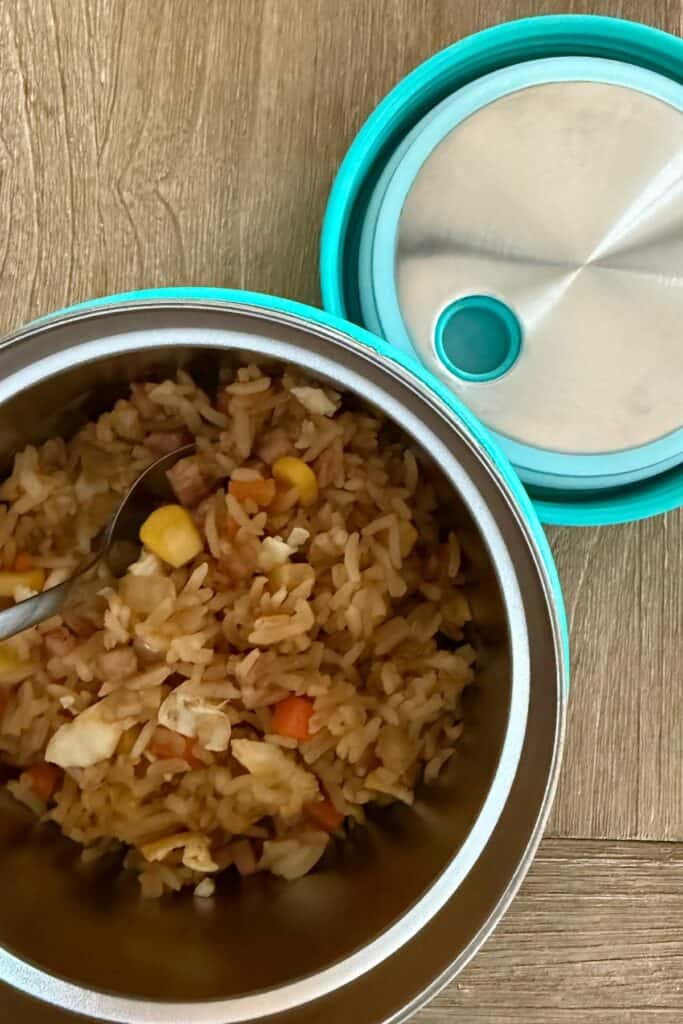
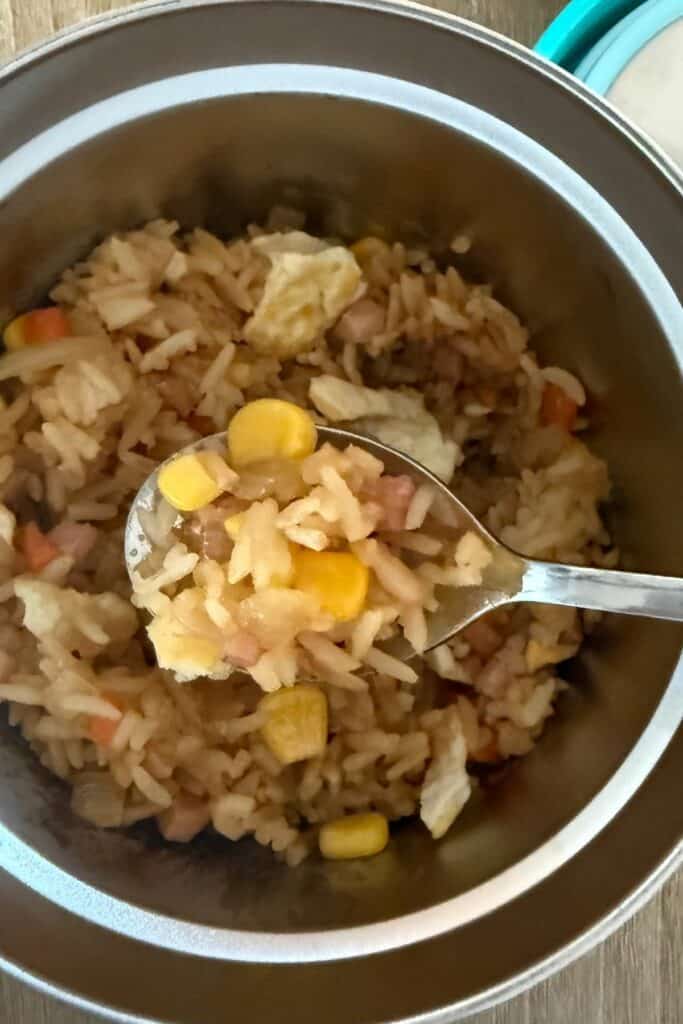
- Fried rice with chicken & veggies
- Pasta with bolognese or cheese sauce
- Chicken noodle soup (with gf pasta)
- Meatballs with gluten-free pasta
- Curry with rice
- Chili with beans
- Sausages with mash
- Stir-fried gf noodles with veggies
- Dumplings (made with gf wrappers)
- Stew or casserole leftovers
- Mini hot dogs with gf rolls on the side
👉 Mix it up. A thermos meal feels special when it’s different from the usual sandwich routine.
Here is some gluten-free chicken fried rice we often use in thermos lunches:
Thermos Safety Tips You Can’t Skip
- Always pack food piping hot (above 60°C / 140°F).
- Never reheat food inside the thermos. It should be ready to eat when packed.
- Discard any leftovers at the end of the day.
- Wash daily with hot, soapy water or place in the dishwasher.
- Teach your child how to safely open the lid – especially younger kids.
Thermos FAQs
How long will food stay warm in a thermos?
Most good thermoses keep food hot for 5–7 hours if preheated properly. High-end ones can stretch longer, but it’s safest to plan within that window.
What size thermos should I use?
Younger kids usually need 200–300ml, whilst older kids and teens might need 400–500ml. Match the thermos size to their normal meal size.
Can I put cold food in a thermos too?
Yes! Just pre-chill with ice cold water first, then load in yogurt, fruit salad, smoothies, or even pasta salad. A thermos works both ways.